Table of Contents
Today, the digital landscape has emerged as a powerful tool for fostering positive change in society. As you’ve likely noticed, numerous organizations, charities, and NGOs are embracing the power of online donations to fuel their missions.
But did you know that within the vibrant WordPress ecosystem, bloggers and developers also harness the potential of online donations to sustain their projects? If you’re also eager to harness this potential and make a positive impact, you’re in the right place.
The process of collecting donations on your WordPress or WooCommerce site is more accessible than you might think. This blog post will guide you through the simple steps of adding a donation option to your WooCommerce store. By doing so, you’ll empower your visitors to make a positive impact and support the causes that resonate with them.
So, let’s get started and unlock the potential of your WooCommerce store to inspire both commerce and compassion.
Step 1: Installing a Donation Plugin
The first step towards adding a donation option is to install a suitable donation plugin for your WooCommerce store. There are several plugins available, each with its own set of features.
For now, let’s take a closer look at the GiveWP plugin and learn how to set up a donation page and customize it according to your needs.
To get started, log in to your WordPress dashboard. Navigate to Plugins > Add New and search for “GiveWP.”
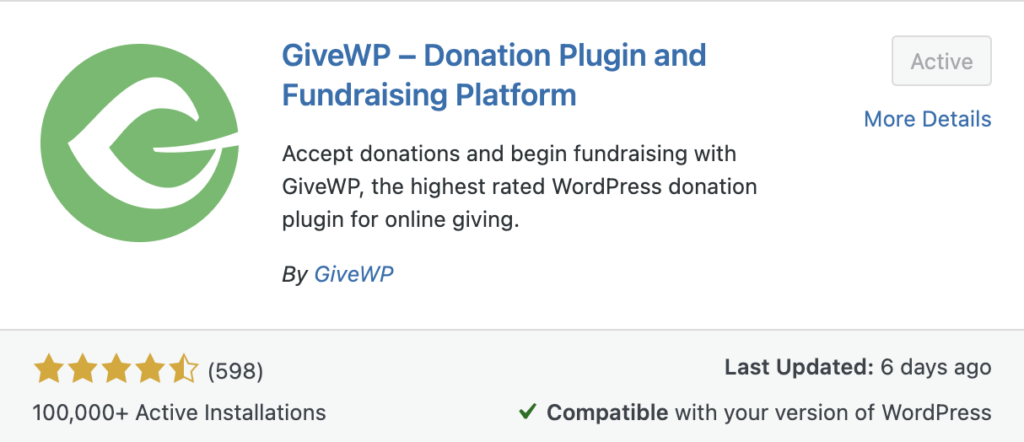
Once you find it, click the “Install Now” button, and then activate the plugin by clicking the “Activate” button.
Step 2: Adding a donation form
Once activated, a new menu item named “Donations” will appear in your WordPress dashboard. This menu is the main hub for managing your donation forms, campaigns, and donations. From here, you can create new donation forms, view and manage existing forms, track donation statistics, and access various settings related to donations.
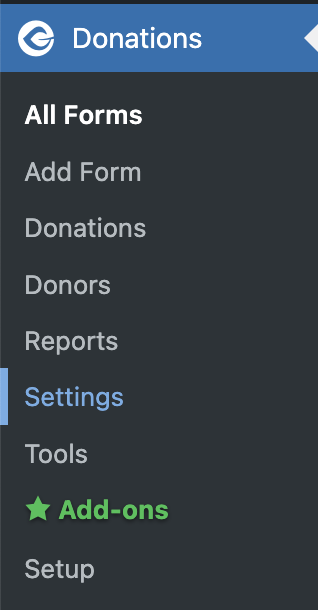
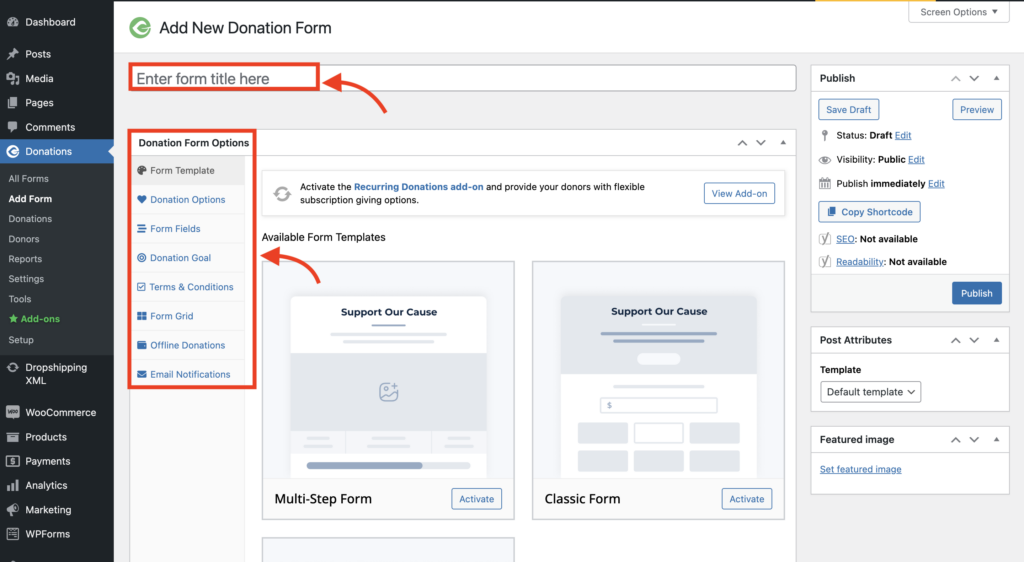
- Navigate to “Donations” and select “Add Form” to create a new donation form.
- Give your form a title, and customize the form fields according to your requirements.
- Configure additional settings such as donation options and email notifications.
- Save the form once you have finished customizing it.
Step 3: Configuring the Donation Settings
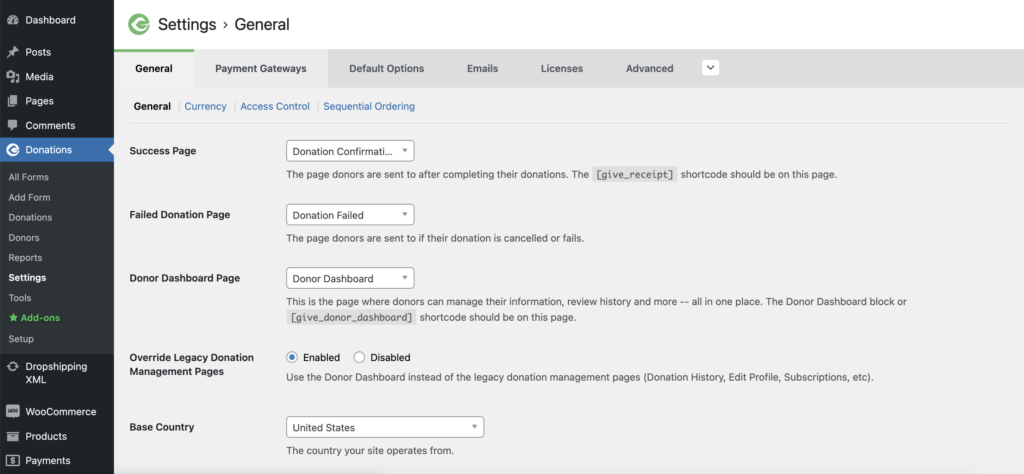
To configure the settings, select “Settings” from the dropdown menu.
General Settings:
By clicking on the “Settings” menu, you will be directed to a new page where you can find general settings along with several other options.
In the “General” tab, configure options such as the default currency, donation form behavior, and email settings according to your preferences.
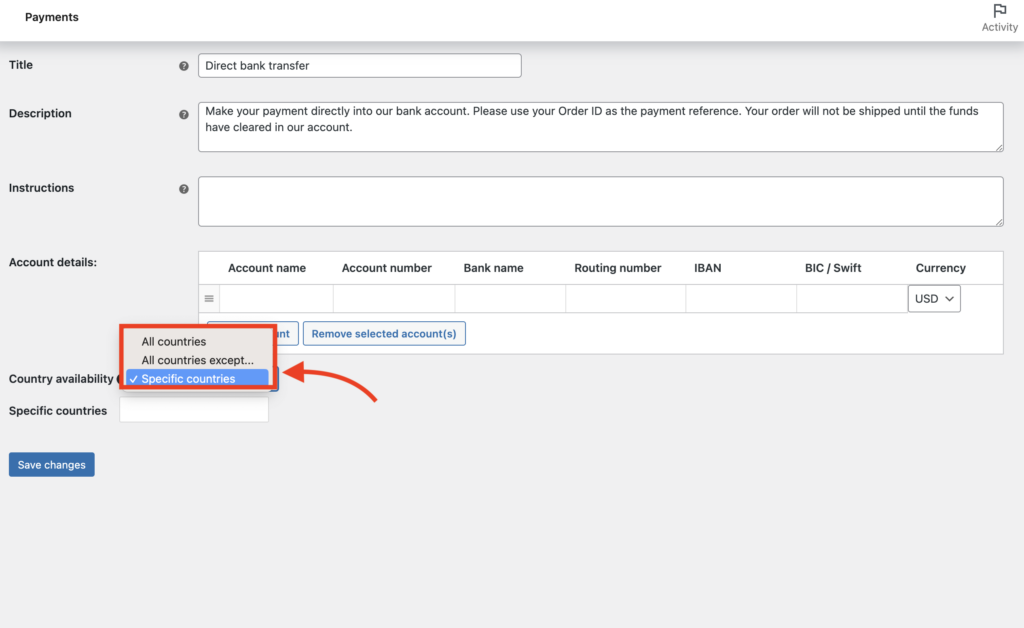
Payment Gateways:
- Switch to the “Payment Gateways” tab to configure the payment options for your donations.
- Enable the desired payment gateways, such as PayPal, Stripe, or offline payments.
- Enter the necessary API keys or account details for each payment gateway.
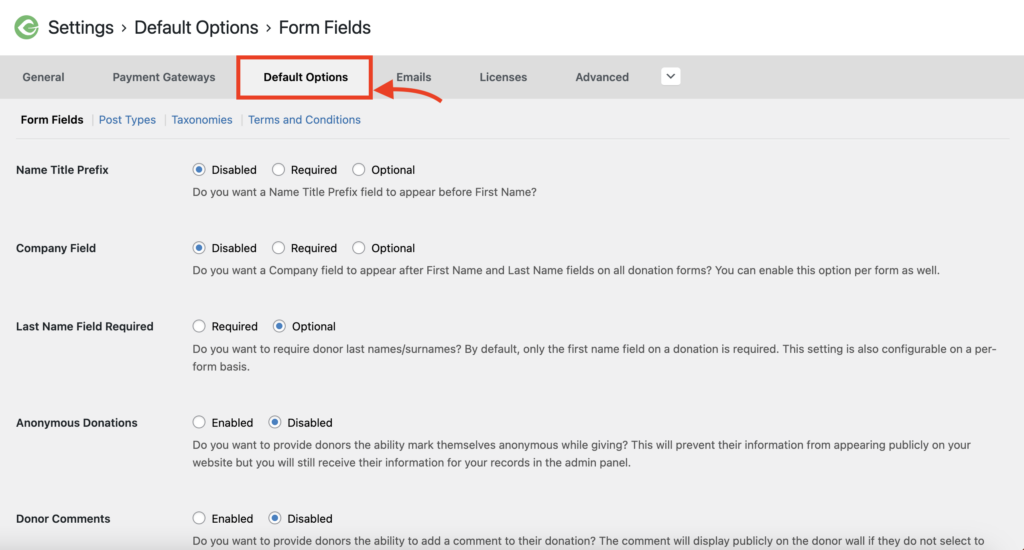
Default Options:
Move to the default options in the settings menu to configure the form fields, terms and conditions, post types, and taxonomies.
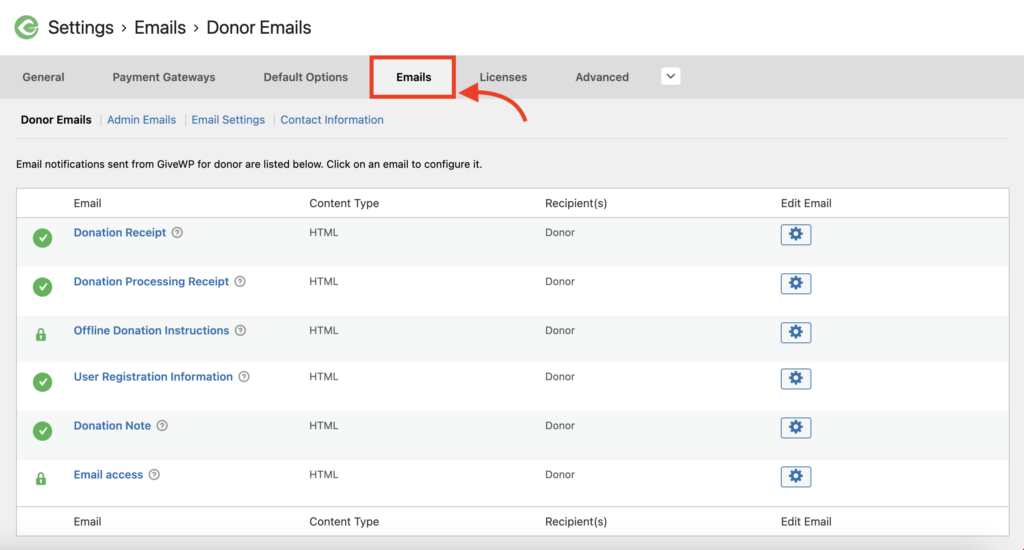
Email Settings:
- Navigate to the “Emails” tab to customize the email notifications sent to donors and administrators.
- Configure the content and design of emails for different donation-related events.
Once you have configured all the desired settings, remember to click the “Save Changes” button at the bottom of each tab to apply the changes.
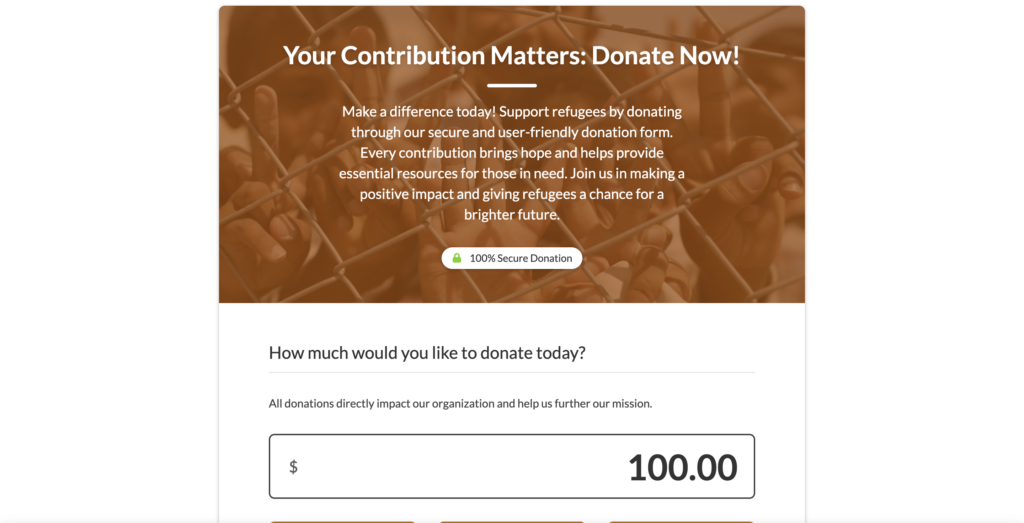
Step 4: Placing the Donation Form on Your Website
- To place the donation form on a specific page or post, edit the desired page or post in WordPress.
- Use the shortcode provided for the donation form and insert it into the content area.
- Save or update the page/post to display the donation form on your website.
You can also use widgets or template tags to display the donation form in different locations.
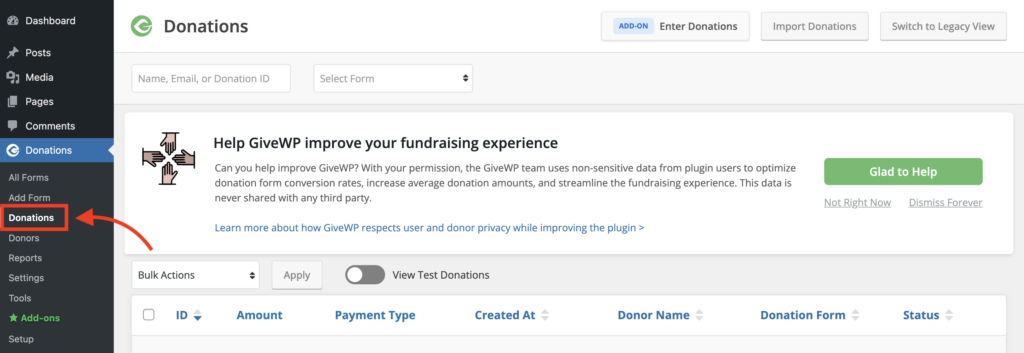
Step 5: Managing Donations
- In the WordPress dashboard, go to “Donations” and click on “Donations.”
- Here, you can view and manage all the donations received through GiveWP.
- Filter and search for specific donations using various criteria.
- Export donation data for further analysis or reporting purposes.
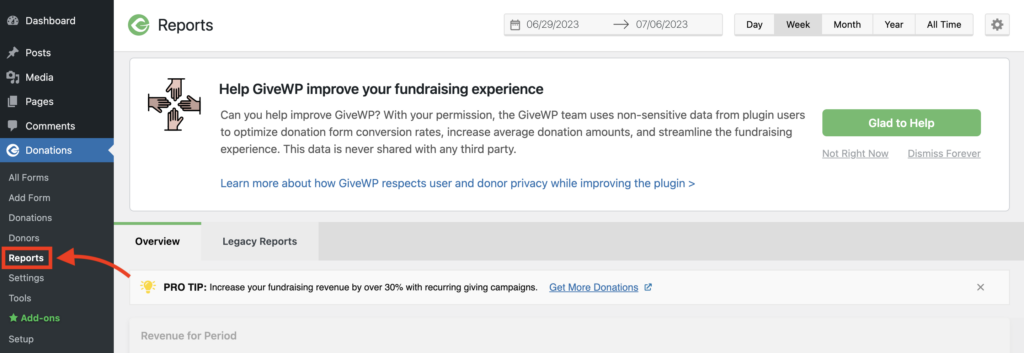
Step 6: Analyzing Donation Data
- Under “Donations,” click on “Reports” to access detailed donation reports.
- Generate reports based on donation amounts, donors, campaigns, and more.
- Analyze the reports to gain insights into your fundraising efforts and make data-driven decisions.
Conclusion
By following these simple steps, you can seamlessly integrate a donation option into your WooCommerce store. Enabling your customers to contribute to meaningful causes with every purchase, be it for social causes, charitable causes, fundraising, community support, or more, not only fosters goodwill but also establishes your brand as a force for positive change.
Embrace the power of e-commerce to make a difference in the world and unlock the potential of your WooCommerce store to spread generosity and inspire others to do the same. Start today and witness the transformative impact of adding a donation option to WooCommerce.
