Table of Contents
Do you wanna set up a wishlist for your WooCommerce store?
If so, you’ve come to the right place. In this article, we are going to show you how to set up wishlists for WooCommerce.
Wishlist is a tool used by many eCommerce store owners to let users save their favorite products for later purchases. It helps in increasing the shopping experience and conversion rate on your WooCommerce store.
So having said that, let’s get started.
Why do you need wishlists in WooCommerce?
Before we begin the setup of WooCommerce wishlists, some of you may have doubts about whether you actually need a wishlist system on your WooCommerce store. So let’s clear it up first.
WooCommerce wishlist is a simple tool that can make a big difference in your store’s overall shopping experience. Sometimes shoppers browse for products for a later purchase. For some reason, they don’t want to fill up their cart with these products. In such cases, a WooCommerce wishlist can be really helpful.
It lets shoppers save a personalized list of favorite products for future purchases. So when there is a price cut for these products or a flash sale is active, shoppers can easily find their favorite products and complete the checkout.
Products in the wishlists are a clear indication of users’ interest. So store owners can make informed decisions, such as a special promotional campaign, or a selective discount sale, based on customers’ interests and preferences. You can create a sense of urgency by offering time-restricted coupons to motivate your customers to complete the purchase.
If you want to know more check out our article on: Why you should have a wishlist system in WooCommerce?
How to set up wishlists in WooCommerce? Step-by-step guide
WooCommerce by default doesn’t have the option to set up wishlists on your store site. So we will be using a third-party wishlist plugin. There are several free and paid plugins to set up a wishlist system in WooCommerce. In this article, we will be using a free WooCommerce wishlist plugin by WebToffee.
If you are looking for other options, check out our listicle on the Best Free Wishlist Plugins for Your WooCommerce Store
Now, follow the below step-by-step guide to set up a wishlist in WooCommerce
Step 1: Install the Wishlist plugin
As we have already mentioned above, we will be using the Wishlist for WooCommerce plugin by WebToffee.
From your WordPress admin console, navigate to Plugins > Add New.
Search ‘Wishlist for WooCommerce’ on the search bar.
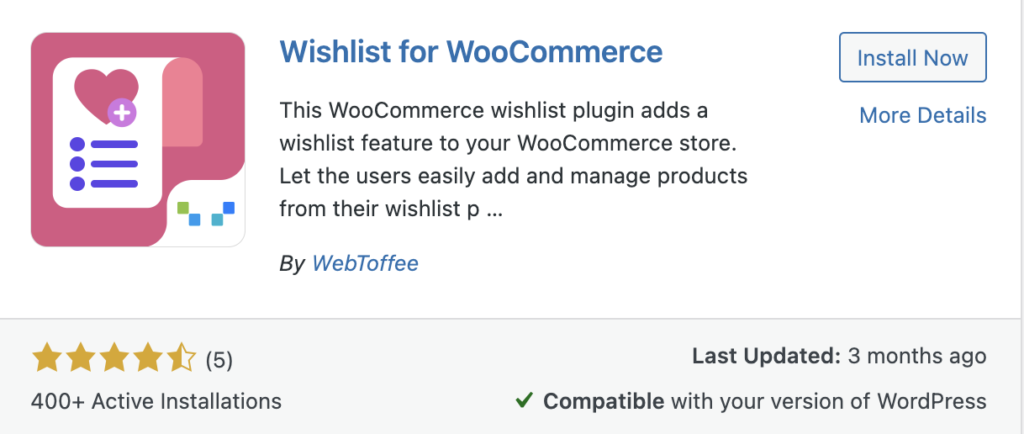
Once you located the wishlist plugin by WebToffee, click on Install Now.
Then activate the plugin.
Step 2: Configuring General settings for WooCommerce wishlists
After installing the plugin a new menu named ‘WooCommerce Wishlist’ will be added to the admin panel.
Go to WooCommerce Wishlist from the admin panel.
Here, you have some general configurations for the plugin.
- Select Yes for Show ‘Add to wishlist’ only for logged in users option to show the wishlist option only for logged-in users.
- Then, choose the pages you want to show the ‘Add to wishlist’ option. You can choose the Product page and/or Shop page.
- Now, choose the categories for displaying the ‘Add to wishlist’ option. If you want to show the wishlist option to products from all categories, choose All categories.
- To show ‘My Wishlist’ on the My Account page, select Yes for Show ‘My Wishlist’ in My account option.
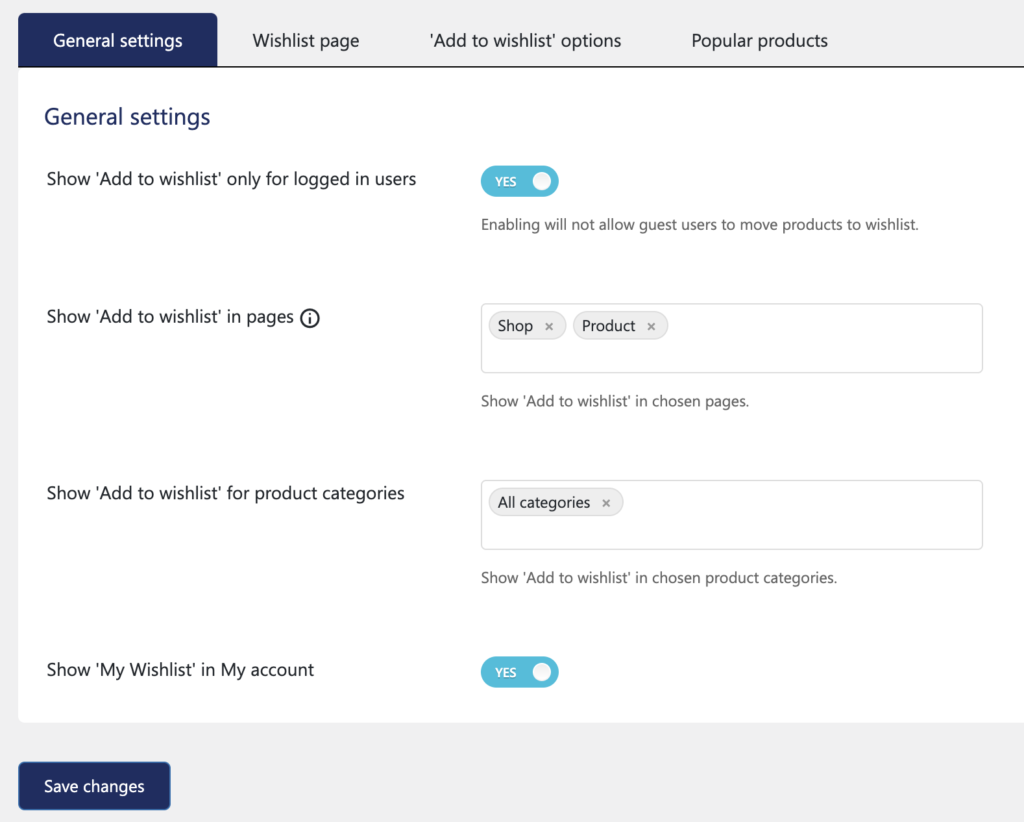
Now click on Save changes to save the settings.
Step 3: Wishlist page settings
Go to the Wishlist page tab.
- Firstly, choose a page on your store to set as the Wishlist page.
- Select the fields to be included in the wishlist table.
- If you want to remove products from the wishlists automatically once they’re added to the cart, select Yes for the Remove item from wishlist after adding to cart option.
- Choose whether to enable the ‘Add all to cart’ option on the wishlist page.
- Select Yes for the Redirect to cart option to redirect users to the cart page when they add products to the cart from the wishlist.
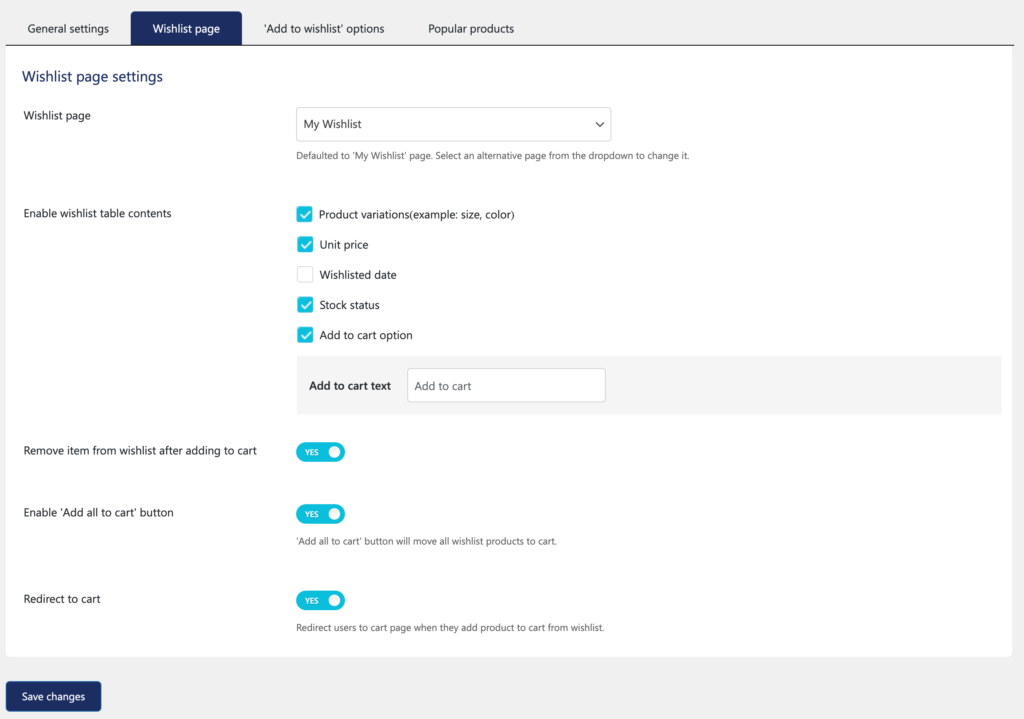
Now, click on Save changes to save the settings.
Step 4: Add to wishlist option
Navigate to the ‘Add to wishlist’ options tab.
- Choose how to display the ‘Add to wishlist’ option. You can choose to show the ‘Add to wishlist’ option as Text, Icon, or Normal button.
- Enter a text for the ‘Add to wishlist’ option.
- You can choose a text for the button to add product to the wishlist and after adding the product.
- Choose a position for the ‘Add to wishlist’ option on the shop and product category page.
- Then, choose a position for the ‘Add to wishlist’ option on individual product pages.
- Select Yes for Enable ‘View wishlist’ link option to show `View wishlist` link if the product is already on the wishlist.
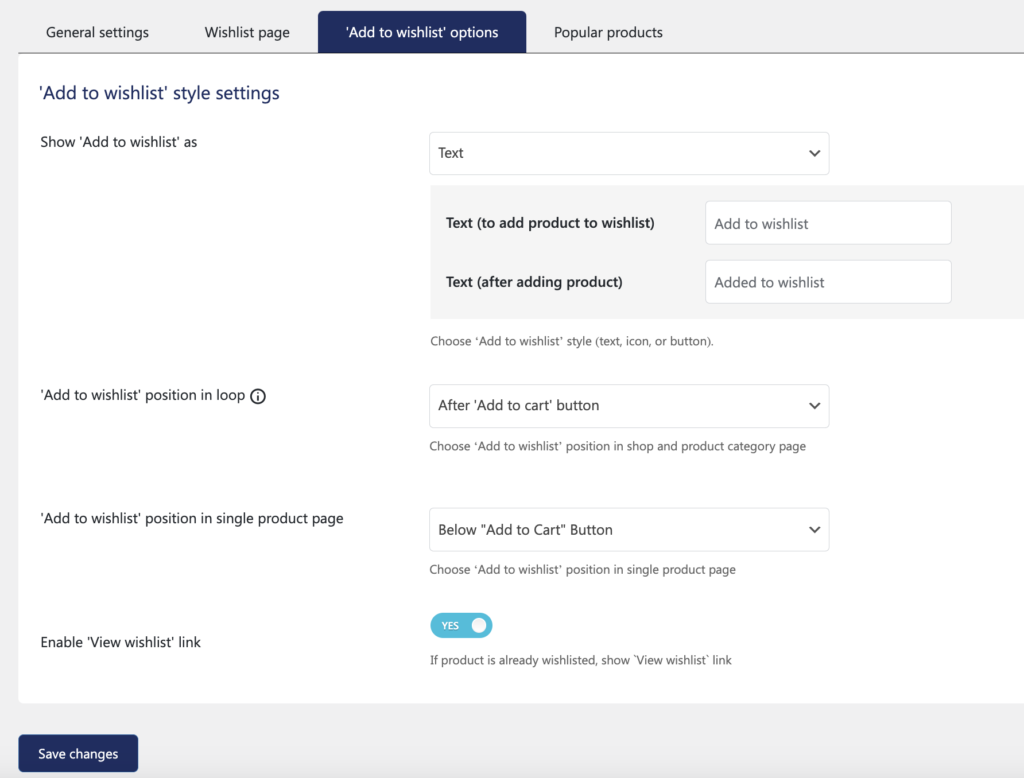
Now, click on Save changes to save the settings.
That was all about setting up a wishlist system on your WooCommerce store. You can view the popular products on the wishlist from the Popular products tab.
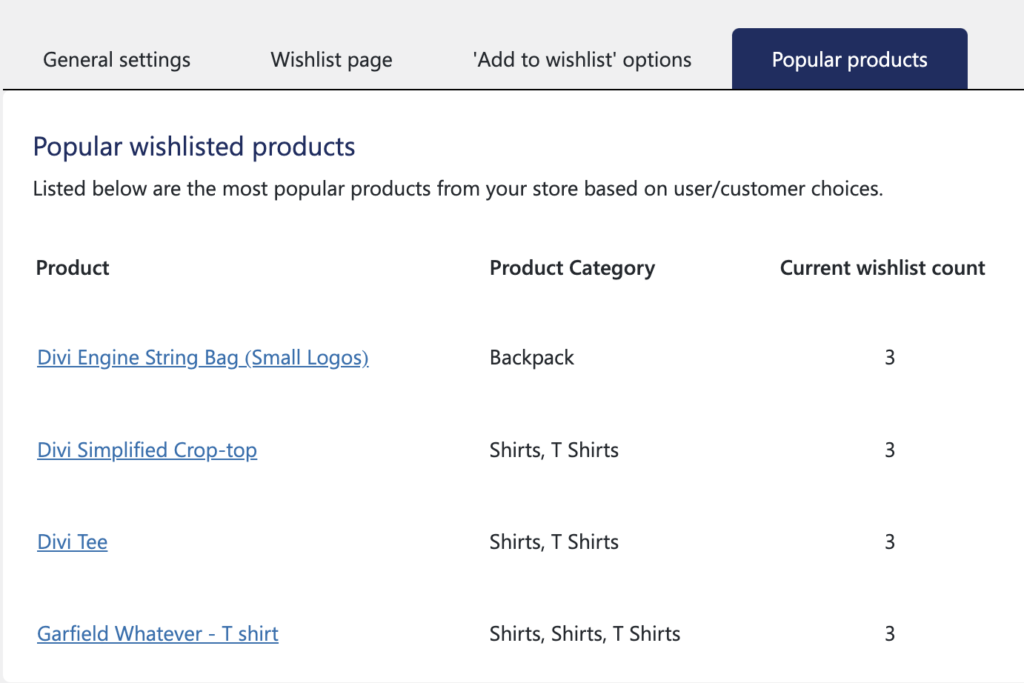
From here you can view the product name, category, and the number of times the product was added to the wishlist. This helps you find the most popular products on your store site.
Wishlist for WooCommerce – An Overview

Wishlist for WooCommerce is a simple plugin by WebToffee that enables you to set up a wishlist system on your WooCommerce store. This lets your customers save their favorite products and proceed to checkout anytime they want.
You can show the ‘Add to wishlist’ option on the product pages and the shop page. The ‘Add to wishlist’ text is customizable and can be shown as an icon, button, or text. This WooCommerce wishlist plugin creates a separate Wishlist page on your WooCommerce store. You can also choose an existing page on your store site to show the wishlists.
The plugin lets you view the popular products on the wishlist with the number of times they were added to the wishlist. It also has an option to automatically remove products from the wishlist if they were added to the cart.
Key features:
- Custom texts for ‘Add to wishlists’ option.
- Automatically remove products from the wishlist.
- Create a wishlist page on your store.
- Customize the appearance of the ‘Add to wishlist’ option.
Wrapping up
Wishlists are common in every major eCommerce website. Customers are also familiar with the convenience of wishlists. With the rising competition in eCommerce, you can’t afford to miss out on this feature.
As there are many free wishlists plugins available in the WordPress plugin library, you don’t even have to purchase a premium plugin. The free plugins will do the job for you.
The WooCommerce wishlist plugin we mentioned in this article offers better functionality and a simple setup process. Also, the plugin is from a trusted developer so we can expect support and updates for a long time.
This article was intended to help you set up wishlists on your WooCommerce store. What are your thoughts on this article? Let us know in the comments.
Thanks for reading.
