Table of Contents
If you own a WordPress website you probably know what Google analytics is and how important it is for your website/business.
But if you don’t, that’s also fine as this article covers everything you need to know about Google analytics; its importance, how it works, how you can add it to your website, etc.
Importance of Google Analytics
Google Analytics is a web analytics service offered by Google. By adding Google Analytics to your website you will be able to monitor and analyze your website’s traffic and bring necessary changes to its performance.
Google Analytics provides you information on who is visiting your website, what do they do on your website, when do they visit your website, how do they find your website, etc.
There are many more benefits you can avail by adding Google analytics to your website, you can learn about them from here.
Now, most of you must be wondering how Google analytics manages to bring all this data to you. How does this whole thing work?
Well, read on to find out…
How Google Analytics Works
Google Analytics is implemented to your website by adding a small snippet of javascript code to all the pages of your website. This allows Google to track and record all the activities of visitors coming to your website. The collected data will then be presented in the form of statistics on your Google Analytics account.
Its time to learn the steps involved in adding Google Analytics to your WordPress website. Here is how.
Adding Google Analytics to Your WordPress Website
By following the below steps you will be able to add Google Analytics to your WordPress website.
Step 1 – Sign up with Google Analytics
You can visit the Google Analytics website to sign-up and create a Google Analytics account.
This requires you to have a google account. If you already have one you can sign in with that account or create a new one.
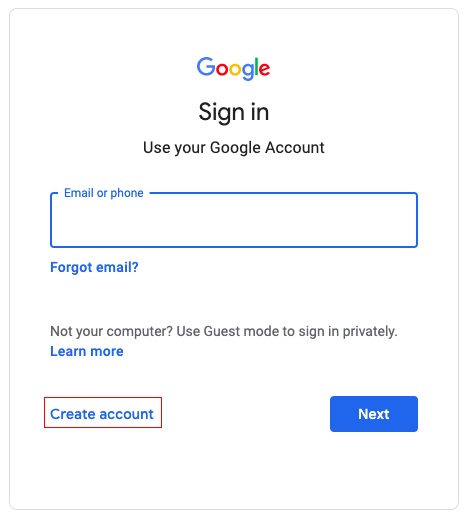
Once you sign in with your Google account, you will be taken to the introduction page of Google Analytics.

Click the Set up for free button.
This will direct you to the account setup window.
Give a name for your account and click Next.
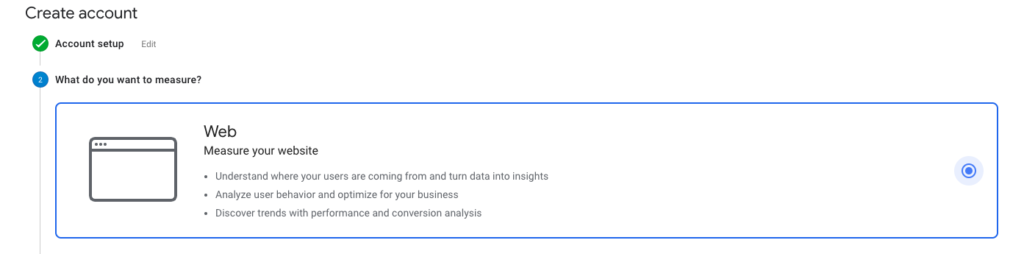
From the upcoming window choose Web.
On the next window, add your website’s name (the website you need to add google analytics), its URL, choose the category of your website from the drop-down, add timezone.
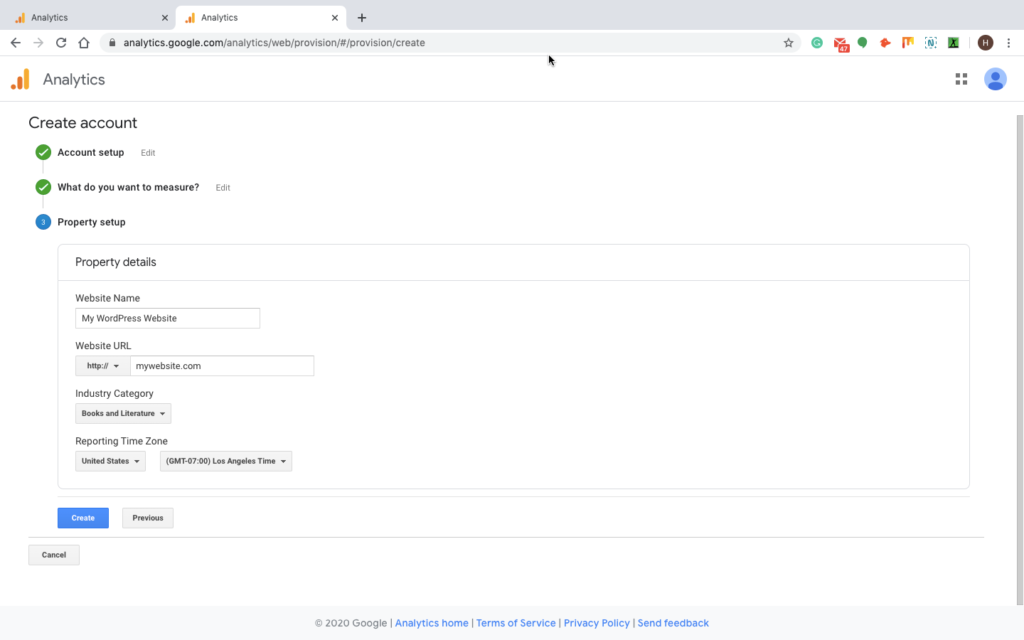
Once you are finished with providing details, click the Create button.
Step 2 – Insert the Tracking code to WordPress
Now you have successfully signed up for a Google Analytics account. The next window will display a tracking ID that you need to copy and paste into the <HEAD> of every webpage (of your website) you wish to track.
Now that you are all done with creating a Google Analytics account, its time for you to install Google Analytics into WordPress.
Step 3 – Install Google Analytics into WordPress
You can install Google Analytics into WordPress in two different ways; either by using a Google Analytics plugin or in a manual way.
At first, let’s see how it’s done with the help of a plugin.
Install Google Analytics with a Plugin
Google Analytics by Monsterinsights is the most popular and free WordPress plugin you can find for the purpose.

Let’s see how easy it is to do it with the help of this plugin.
Once you are done with the installation of the plugin, go to your WordPress Dashboard and click on the new menu Insights, which has been added by the installation of the Monster insights plugin.
It will take you to the setup wizard of the plugin.

Here choose the category that best describes your website from the given three options.
Click Save and Continue.
On the next window, click Connect MonsterInsights button.

Now you will be asked to choose a Google account to sign in or to select a Google account if you are already signed in.

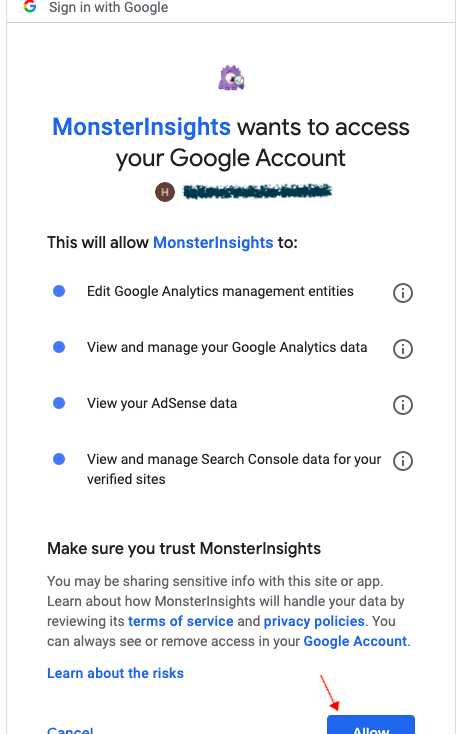
Next, you will be asked to allow MonsterInsights to access your Google Analytics account.
In the final step, you will be required to select the profile you want to track.
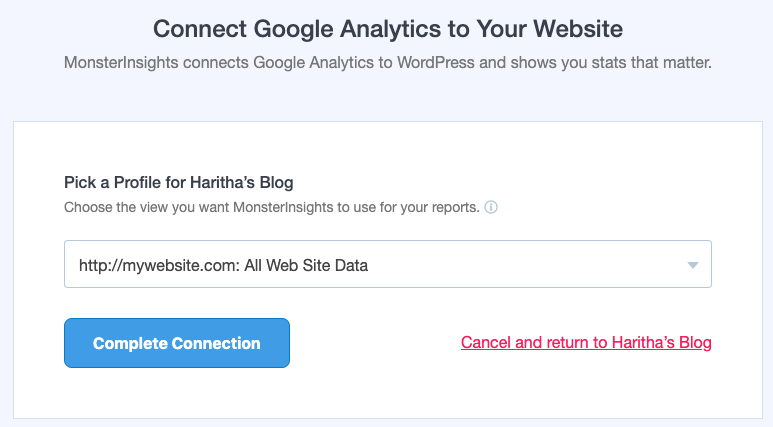
Hit the Complete connection button to go to the settings and configuration page of the plugin.
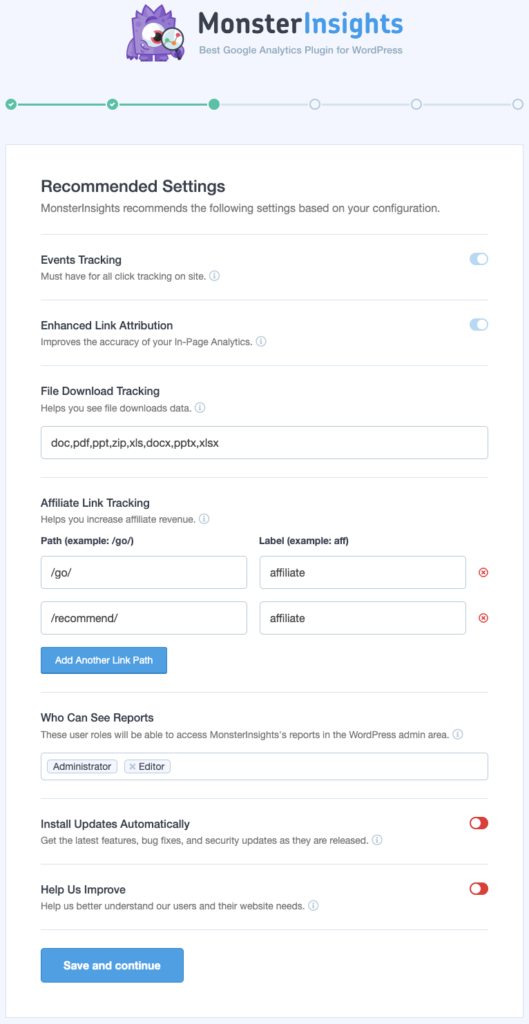
Once you enable the recommended settings as per your preference click Save and continue.
Now you will be greeted with a window that informs you of the completion of the setup wizard.

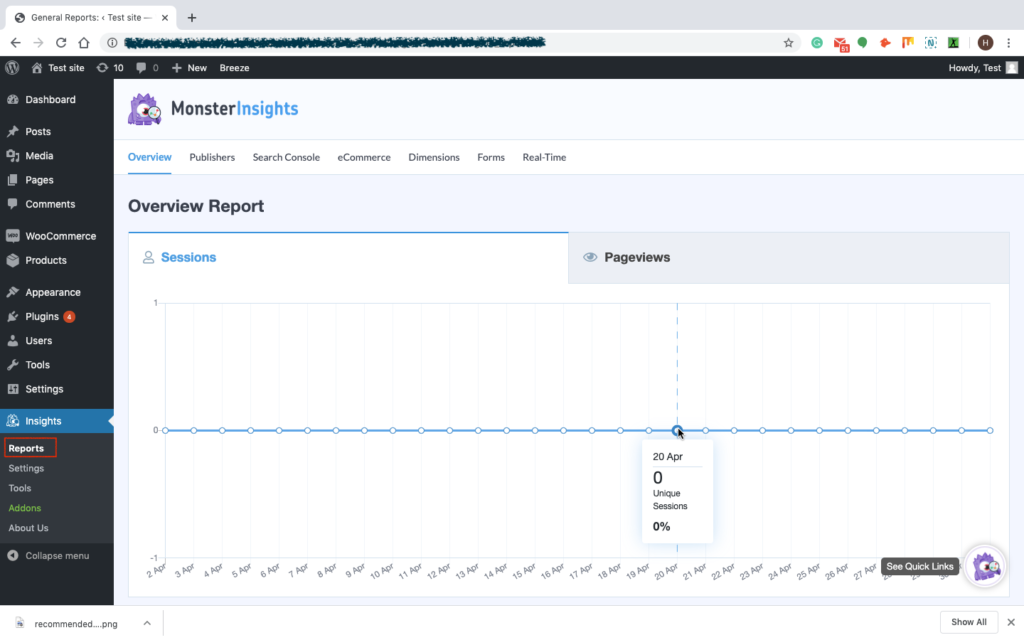
Click the Finish setup button and you will be redirected to the analytics dashboard of your website. You can also navigate to this page by going to Insights > Report from your WordPress dashboard.
The Manual Method – Install Google Analytics in WordPress Theme
This method is mostly chosen by people having coding skills as it requires you to add code to WordPress files.
As it is possible for the code to disappear once you switch or update the theme, you might want to think before choosing this method to add Google Analytics.
In this method, you can add code either to the header.php file or to the functions.php file. of the theme.
Conclusion
Google Analytics is indeed a must for all websites out there if they are aiming for faster growth of their websites. Hopefully, the article best explained everything you needed to know about Google Analytics and its set up.
