Table of Contents
WordPress is one of the most popular, powerful and flexible Content Management System (CMS) that helps you easily create and manage a fully functional website or a blogging site. After installation of the website, all you need is a web browser to manage, maintain and monitor your website. This article explains how you can set up WordPress manually on your web server and locally on your computer.
Simply said, it’s awesome. It powers more than 27% of the websites on the internet, which amounts to more than 75 million websites, including WordPress.com websites.
One of the reasons that WordPress is so popular is its ease of use – from installation to getting the site up and managing the content. Not only that you can extend the features of your WordPress website using plugins that are easily and abundantly available on WordPress plugin directory and other sources. And since WordPress is an open source software, all the money that you will have to spend to mark your presence online is for getting a web hosting and for the domain name.
How to Install WordPress on Your Web Server?
WordPress is surprisingly easy to set up. And when I say easy, it just takes about five minutes for the installation.
There are many ways by which you can set up a WordPress site. When you are installing WordPress on your server, most hosting providers provide tools that can help you install WordPress in a matter of clicks. Your hosting provider may provide an option to pre-install WordPress on your server.
Also, some hosting providers simple scripts that will help you set up the database, enter the name and description of your website, enter the credentials of the admin and create an admin account, and install WordPress with just one click of a button.
There are certain requirements that you must have before you set up WordPress – You are going to need a domain name and a web hosting provider that has the minimum requirements to run WordPress. Then you are good to go.
Most of the web host providers provide you tools that can help you install WordPress with a few clicks and certain others gives you scripts that will set up a database, and you can enter the name of your site and description, create your WordPress account and then install. After having installed WordPress successfully, you are ready to build your own WordPress website.
Installing WordPress Manually
Manual installation of WordPress is also a very simple process just with some added steps. Installing WordPress manually helps you get to know what makes up the backend of WordPress, especially if you are a beginner. Manually installing WordPress pushes you to create a database, edit the WordPress config file, create an admin account, etc. by yourself.
Manual set up of WordPress needs you to have certain prerequisites to be set up on your computer.
You will need an FTP client software like FileZilla, a desktop application using which you can copy and upload your files to your web server. And obviously, you are going to need a working internet connection to be able to transfer files between the FTP client and the server.
Configure your FTP client with the FTP credential provided by your hosting provider. These credentials will be given to you by your hosting provider access your web server. You will also need a text Editor and a web browser of your choice.
Now after that is done, installing WordPress will involve the following.
Step 1 – Download the latest version of the WordPress software package.
Step 2 – Upload WordPress to the web server using FTP.
Step 3 – Create a MySQL database and user for WordPress.
Step 4 – Configure WordPress to connect to the newly created database.
Step 5 – Complete the installation.
These simple steps are all that takes to install WordPress manually. Now, let’s take a look at these steps manually.
Step 1 – Download WordPress Software Package
Go to wordpress.org and download the latest version of WordPress. You will get the WordPress files in the form of a zip file. Next, locate the downloaded WordPress folder and then extract the contents of the zip folder, preferably on to the desktop, for the ease of finding and uploading.
Step 2 – Upload WordPress to Server Using FTP
In almost all FTP clients, the interface is similar. The files on the left side of the FTP client window are the files on your computer. The files on the right side of the window are the files on your server.

From the FTP client choose the folder with WordPress files. Enter your FTP credentials to connect your computer to the server. Once the connection is established, then upload the files to the root directory of the server.
Uploading WordPress will take some minutes. In the meantime, let’s go to step 3
Step 3 – Set up your database and user for WordPress
WordPress store data in a database and not in files. Even if you are creating a database in a one-click install, you have to create a database along with the process. It is not created automatically.
So, to create a database let’s head over to your web hosting cPanel to set up your MySQL database.
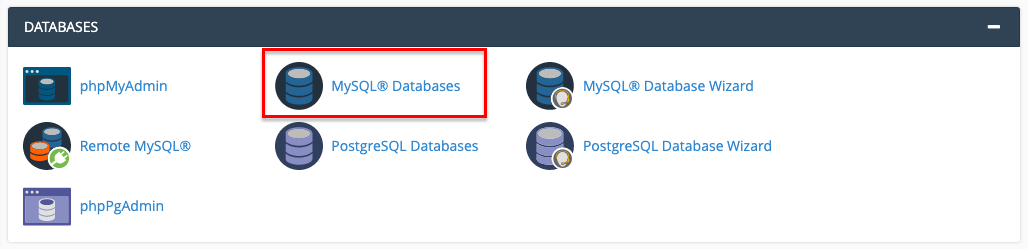
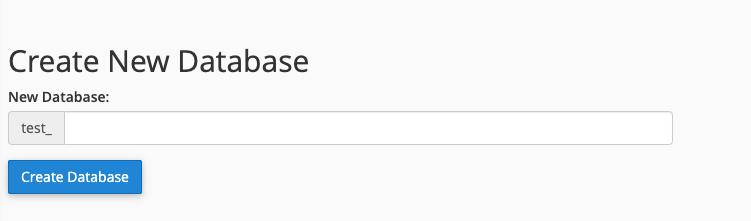
In the cPanel of your hosting service provider, you will be able to find a database module. Where you can find the MySQL databases. Click on the MySQL logo. You will be able to see a field for creating a database. Enter the name of your database and click Create Database.
Now you need to create a user that has the permission to access and modify the database. For this, on the MySQL database page, you will be able to see a MySQL Users section. Enter the username and password for the user. You can use the password generator to create a strong password, but remember to copy the password because you are going to need it again.
The user that has been created now does not have any access to the database. To give the user created access to the database you have to add the user to the database. To do that, scroll down to a section called ‘Add User to a Database‘.
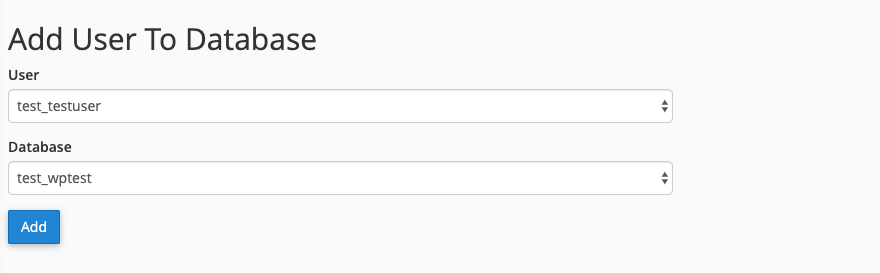
Select the username you created for the database and the name of the database and then click add.
Step 4: Connect WordPress to the newly Created Database
WordPress looks for the database details in a file called wp-config. To access this file, head back to the FTP client and on the server side find the file named wp-config-sample. You can rename this file to wp-config. Now, open the file in a text editor. Next, enter the name of the database that you created and the password of the user and save the file.
Step 5: Complete Installation
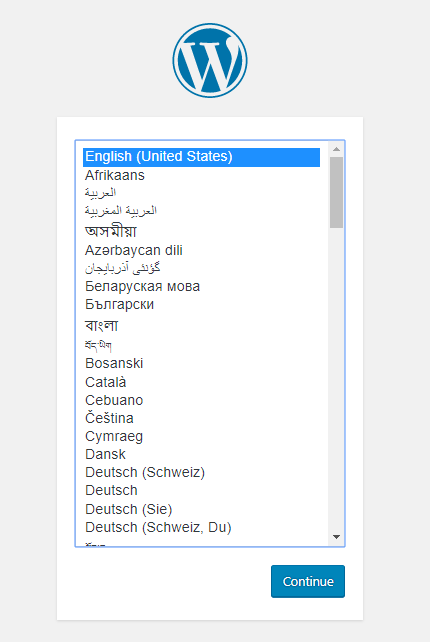
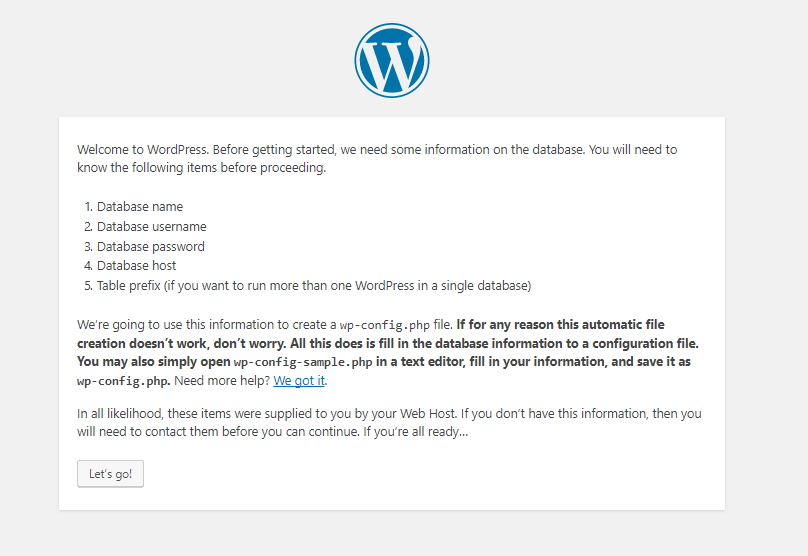
Open your web browser and enter the URL of your website. WordPress will now ask you to select your language and then give instruction on the additional information needed. Take some time to read them and then click Let’s Go. Below is the next screen you will see.
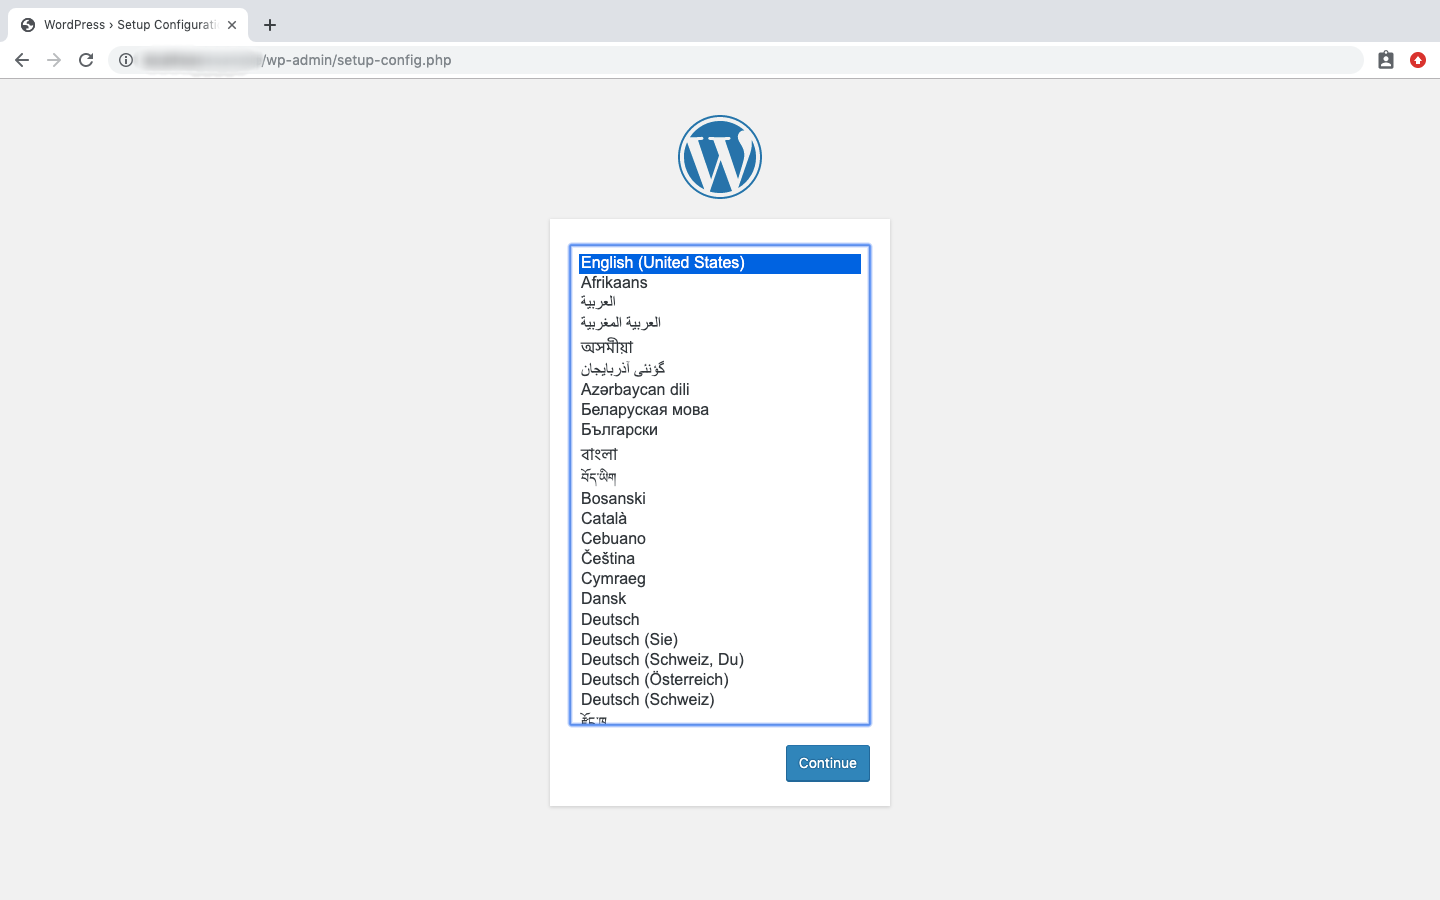
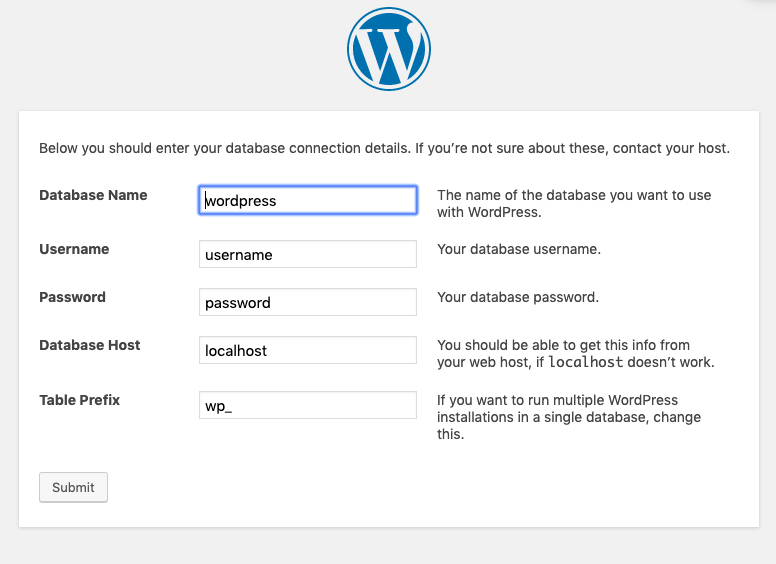
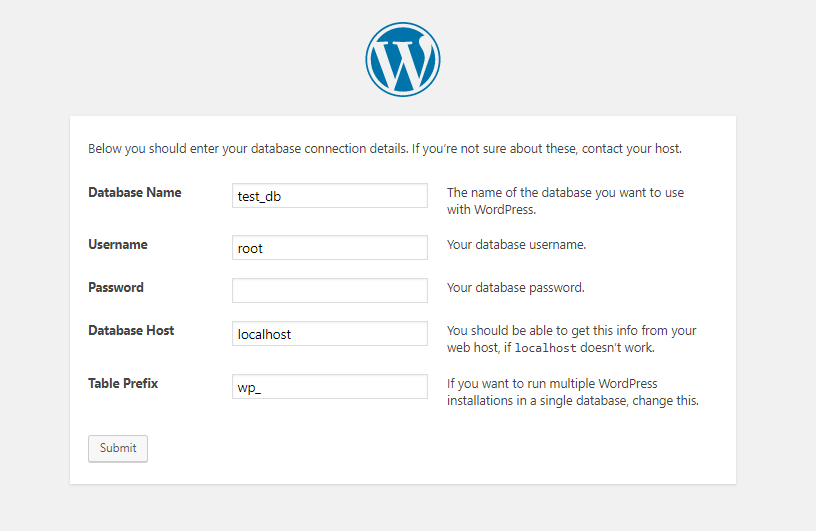
Then click on Continue. Fill in the information required to connect to the database on the next screen and then click Submit.
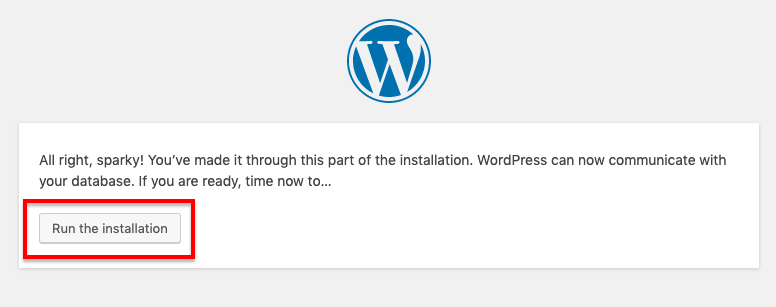
This will connect WordPress to the database and the show you a success message. Then click ‘Run the Install’ button.
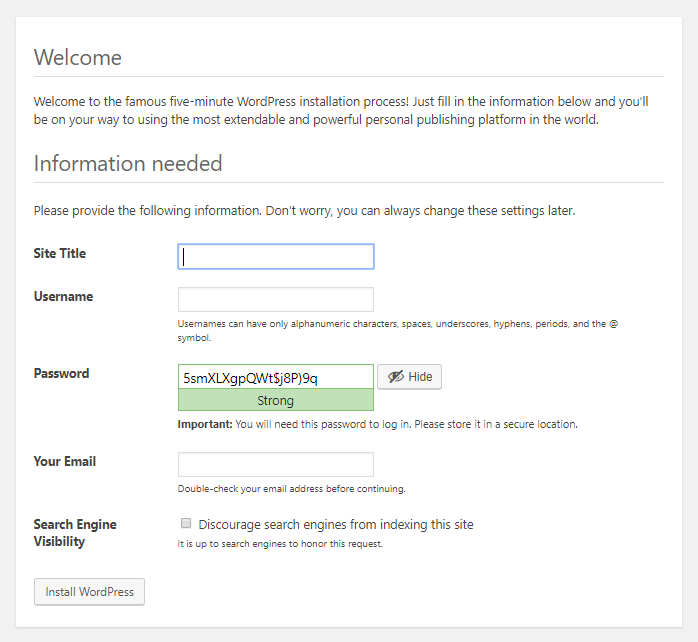
Now you need to set up an admin account on your website. For this WordPress will ask you to enter your site name, admin username, password, and primary email address. You can choose to make the site invisible to the search engine by enabling the Search Engine Visibility checkbox.
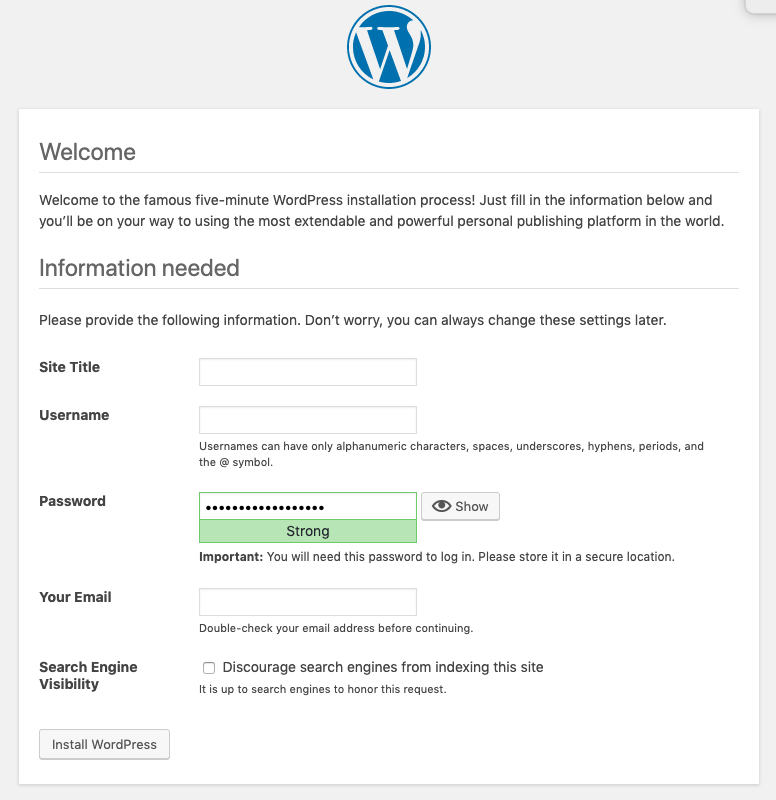
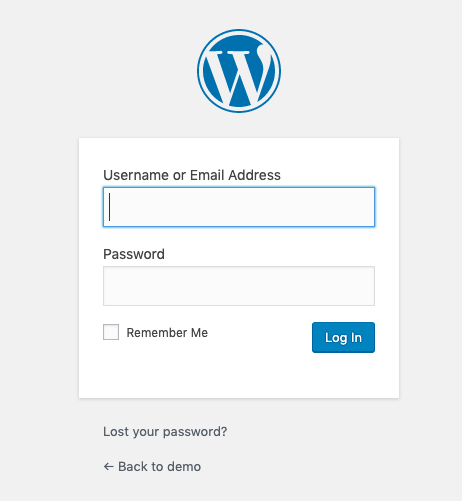
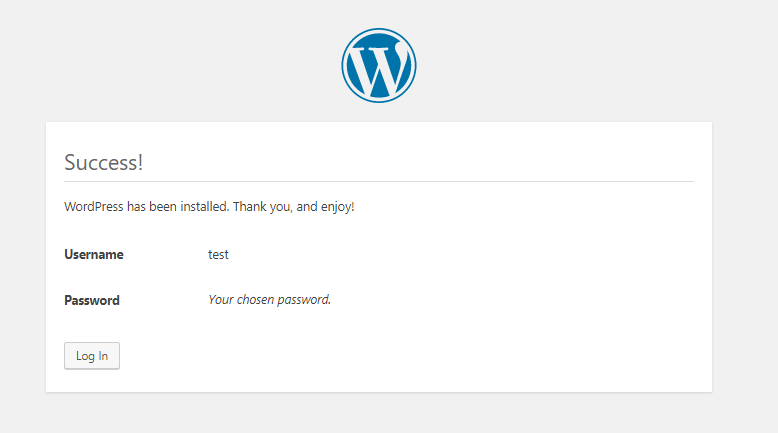
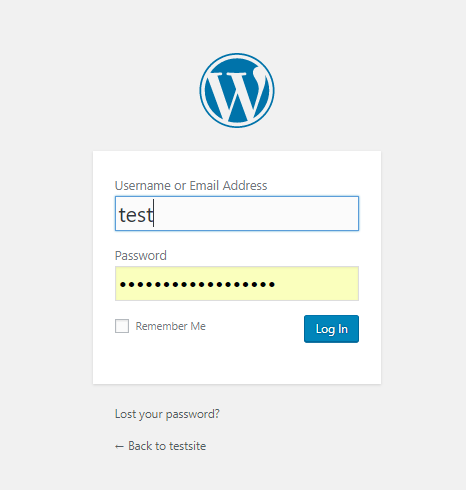
After, click the Install WordPress button. This completes the installation of WordPress on your web server. You will be shown a success message with your username. Click on login, enter your username and password to start using your website.
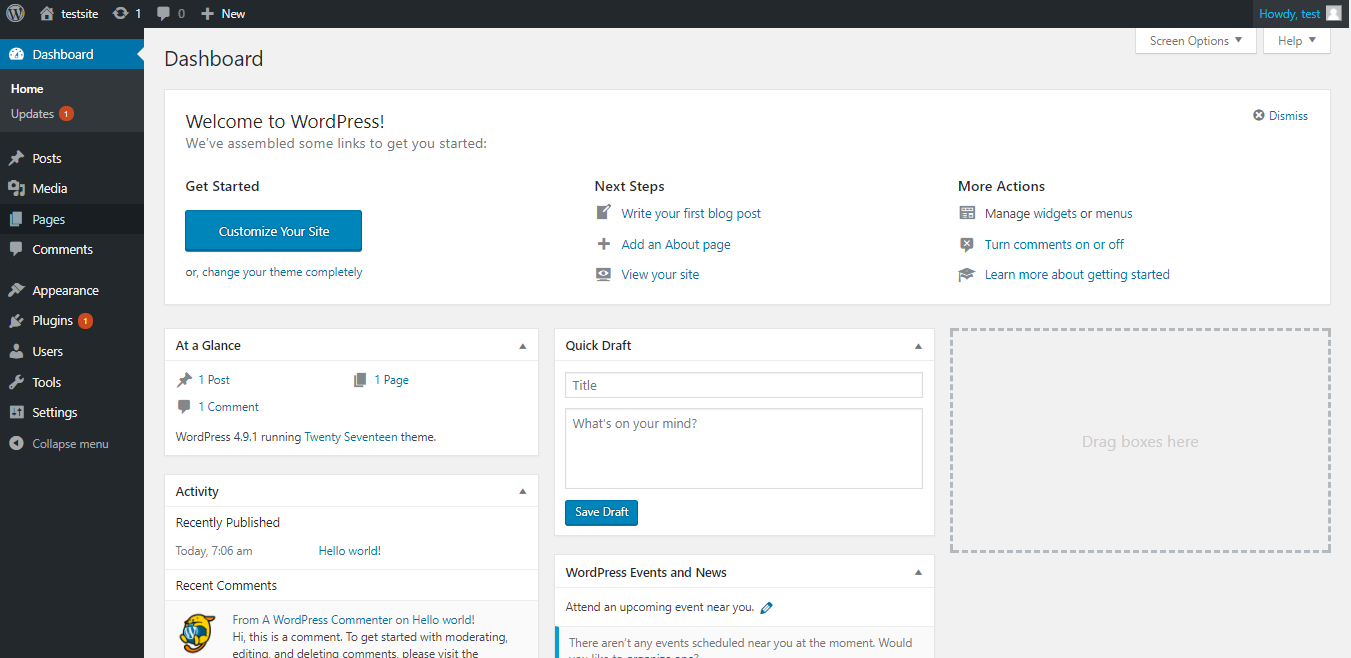
After successful login, you will be taken to your WordPress website dashboard.
You can always access the admin side of the website by entering ‘/wp-admin’ at the end of the website URL, like www.example.com/wp-admin. This will take you to the login screen of the website dashboard.
Install WordPress Locally on Your Computer
WordPress can be installed locally on your computer. When WordPress is installed on your computer only you can see the work you have created. So it is ideal for developers to develop and test WordPress themes, plugins, or websites. Also, to make changes in a WordPress site before making it live for your audience.
Installing WordPress locally can not only be used for learning and testing purposes but also will prove great for learning for those who are learning WordPress plugin or theme development.
WordPress on your computer can also be your personal backup of your work.
Steps to install WordPress on your computer
Step 1 – Install localhost on your computer
Step 2 – Set up a database for your WordPress
Step 3 – Download WordPress
Step 4 – Install WordPress on your localhost
Let’s understand these steps more a little bit more.
Step 1 – Install a Localhost on your Computer
To install WordPress on your computer you are going to need localhost on your computer. In this article, we will be using WampServer.
WAMP is a localhost server for windows that comes bundled with the technologies Apache, MySQL and PHP. It also has PHPMyAdmin that will help you easily manage your database. Also, It is completely free to install and use.
How to install WAMP?
To install WAMp on your computer, do the following steps
1 – Go to the WampServer website and download the latest version of WAMP
2 – You will have the option to choose from two different version – 32 and 64 bits. Chose from the version that works for your Windows computer. In this example, we will be using the 64-bit version
3 – After downloading WAMP, run the execution file to install WAMP on your computer
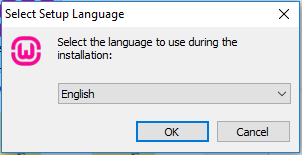
4 – In the dialog box that opens, choose the language of your preference.
6 – Accept the license agreement and click next
7 – Follow the instructions that follow the installation step by step
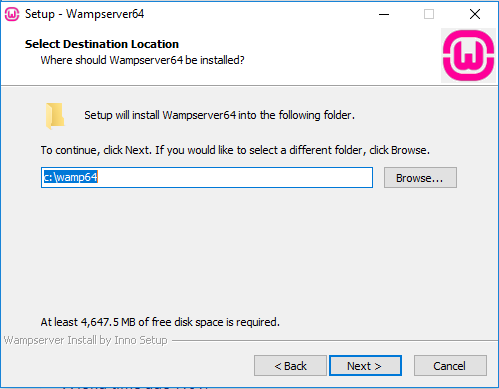
8 – At one point you will be asked to choose the destination folder where WampServer is to be installed. By default, it will be installed in C://wamp64. you can change the location if you wish to do so.
9 – Click install and WampServer will start installing now.
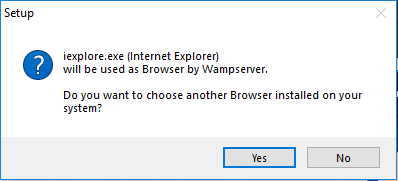
10 – After installation, you will be asked if you want to change the default browser on the system from Internet Explorer to the browser of your choice. If you want to change the browser then navigate to the file where the browser of your choice is located.
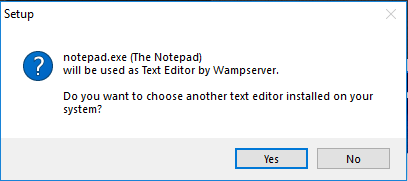
similarly, you will be asked if you want to change the default text editor from the editor of your choice.
That sums up the steps involved in installing the WampServer on your Windows Computer.
Step 2: Set Up Database for WordPress
Just like when installing on a web server, you will need a database on your local server that WordPress can use. You have phpMyAdmin in WAMP to manage your MySQL databases.
To create a database on your local server first go to the WampServer icon on your Windows taskbar. Click on phpMyAdmin from the menu that appears.

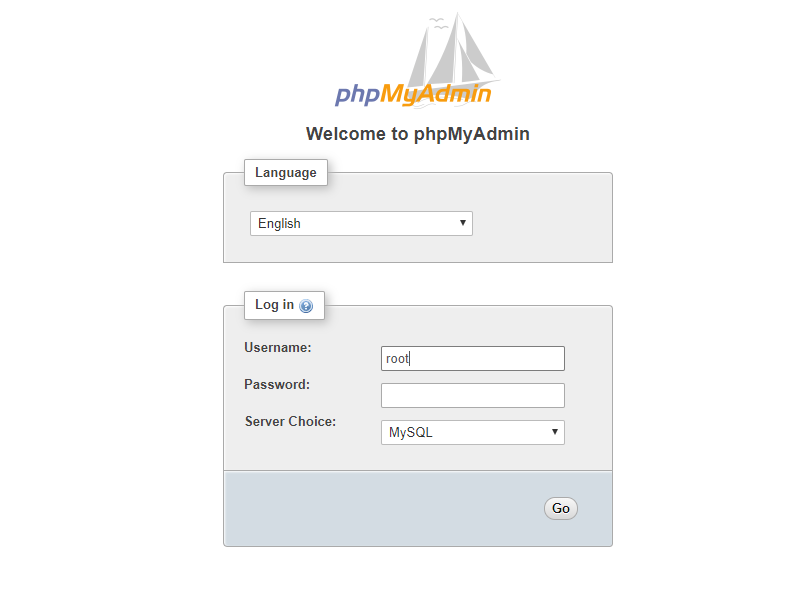
A new browser window will open with phpMyAdmin window. The login screen of phpMyAdmin will ask for your username and password. By default the username is root and you can leave the input area for password empty and then click Go.
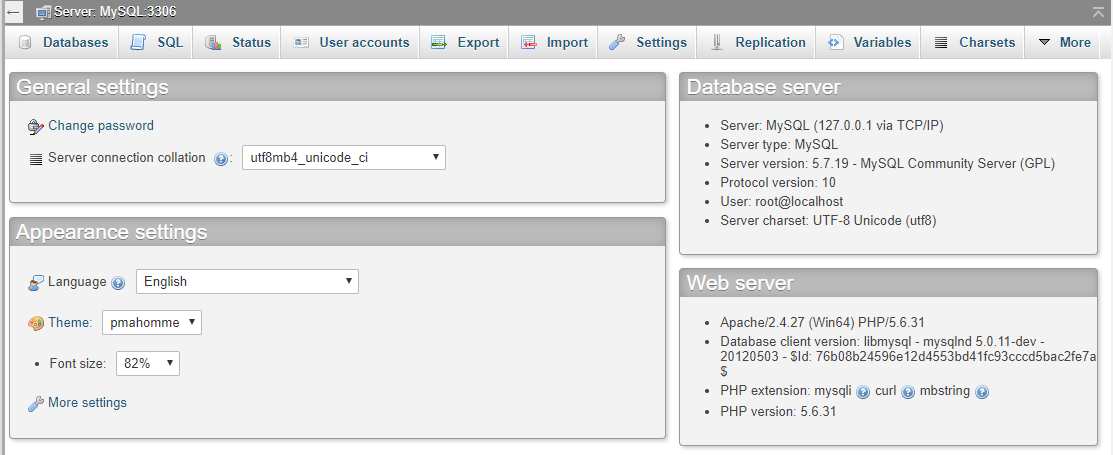
On the screen that appears after you log in, click on Databases.
Then name the database with the name of your choice. Then click Create.
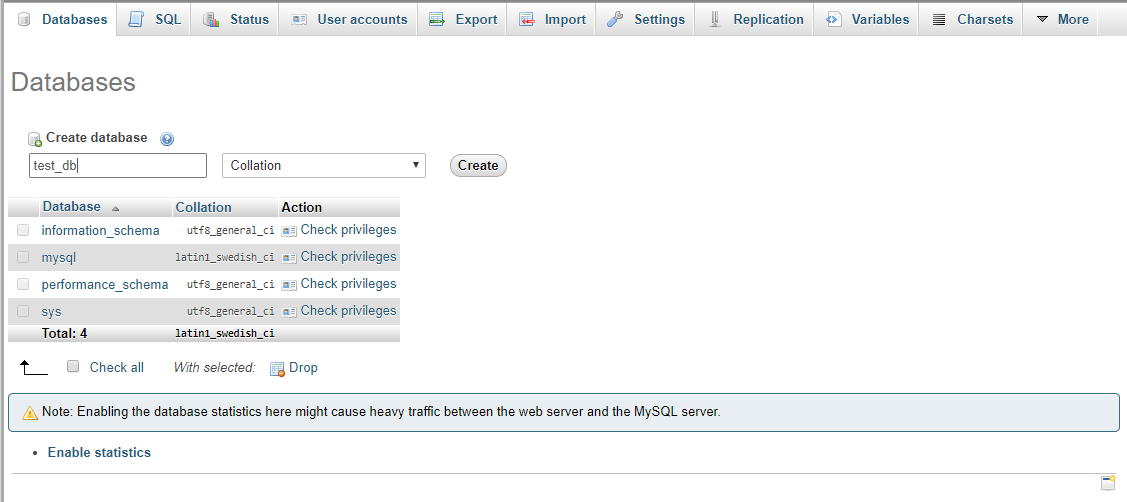
This will create a MySQL database for WordPress for you.
Step 3: Installing WordPress Using WAMP
Now that you have your localhost installed and database created, the next step would be to install WordPress. Go to wordpress.org from where you can download the latest version of WordPress.
After you have downloaded WordPress, go to the downloads folder where the files will be in a zip folder, so go ahead and extract the file.
The file structure of the WampServer looks like this. Locate the folder named www
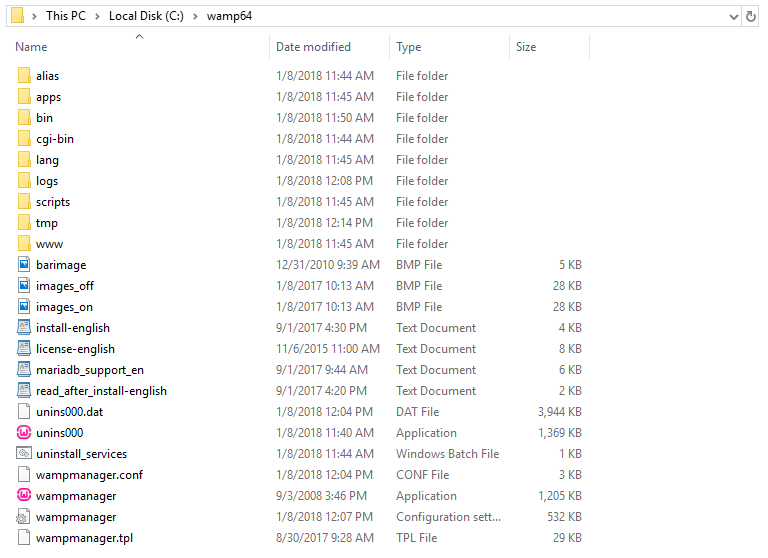
Copy the WordPress file in the www folder of WAMP. You can rename the WordPress folder to the name of your choice. Rename WordPress folder to the name of your site. Here, I am naming the site ‘testsite’. The name of the WordPress folder will the URL of your site. So in this example, the URL of the file will be http://localhost/testsite/.
Now after the installation is complete head over to your web browser and then enter the URL of your website, in this case, http://localhost/example/. This will open your local WordPress website on your web browser. You will be now asked to select the language of your preference.
Now, you need to set up your database.
The database set up will start automatically. In the next screen, you will be provided with some information regarding setting up the database. Take a moment to read the information about setting up the database. After that, click Let’s Go.
In the next screen, you would need to enter the name of the database that you created for WordPress in the previous step. The default username is root and you can leave the password input area as blank. After this click submit.
This will connect WordPress to the database that you created for WordPress. You will get a success message after WordPress has connected successfully with the database.
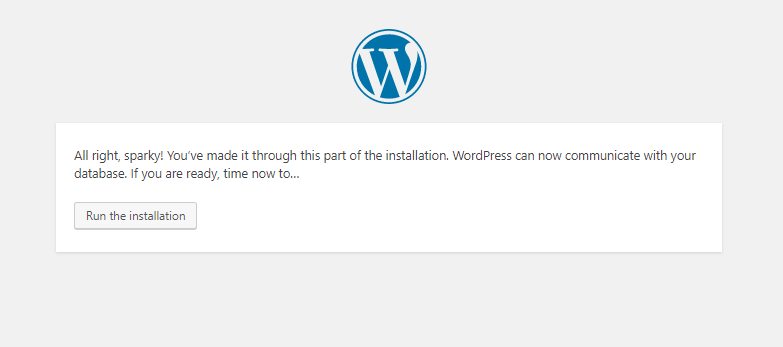
All that’s left do is to click the Run the Installation button.
After this, there is a little bit more information needed for WordPress to set up your admin site. You would need to provide the name of your website, admin username, password, and your email.
Now click on Install WordPress.
After successful installation, you will get a success message.
So now you have a fully functional WordPress site for you on your local computer which only you will be able to see, and that you can play around with. So now you can log in to the WordPress dashboard using your admin username and password from your local server like you would on a web server.
After logging in, you will be taken to the WordPress dashboard.
Now you can use WordPress on your local computer for developing a website, plugins or themes that will not be online and only you will see. You can also use WordPress locally to test your website so that your people who use your website are not affected by any issues that you might have otherwise missed. And when your website is all set, you can deploy your website from your local server to the web server and go live.
Wrapping Up
So that’s all about how you can install WordPress manually both on the web server and on your local computer using localhost. WordPress is a great platform to create a website for your business or to create a blog. But to create a serious WordPress website, you will need to install a good looking theme and will need the help of the right plugins.

Comments
free sex cam
Hello my loved one! I wish to say that this article is awesome, nice written and come with approximately all important infos. I’d like to peer extra posts like this .
August 16, 2018