Table of Contents
For creating a simple website, WordPress gives you a lot of features and functionalities right out of the box. After installing WordPress, you will get a functional website. And to add to those functionalities, you will need to install plugins for WordPress.
The right plugins will help your WordPress website to be more secure, load faster, rank higher in search engines, convert it into an e-commerce store, etc. So, as a beginner, it is really important to choose the right plugins for your website and know how to install them.
“Always choose the plugin which is frequently updated, You can check the latest update in the WordPress repository while checking any specific plugin because hackers can easily find an outdated plugin & then attacks through these security holes in old versions of plugins and makes their way into any website.”
–Muhammad Muzamil, The Digital marketing Specialist from Cloudways
The best thing about WordPress is that there are a lot of resources due to its popularity. When it comes to plugins, there are thousands of free and premium plugins available for WordPress in the official WordPress plugin directory and other marketplaces. You can have plugins for any functions that you want to add to your WordPress website. If you can name it, you will definitely find a plugin for it.
Before You Begin
Before getting a plugin for your website, here are some things to keep in mind before installing a plugin.
Make sure you need it
Add a plugin that will add value to the website and keep the number of the plugins on the website to a minimum. How many plugins you can use depends on what plugins you are using and how they coded. But having too many of them installed and activated can potentially slow down and negatively affect the SEO of your website.
Ratings and reviews
A very good way to understand if the plugin works or not is to read through the reviews of the plugin. It can help you understand what other users who have actually used the plugin have to say. This will help a great deal with better decision making especially when it comes to premium plugins.
Reviews can also be indicative of how well the plugin is maintained by the provider. Like in cases where a user might have left a bad review that was just temporary and might have been fixed. Check if the issue was fixed, and how long did the developers of the plugin take to fix the issue or respond.
You can get a lot of information from the ratings and reviews. But this is of course if the plugin has enough user reviews. If the plugin does not have enough reviews, and you only feel comfortable with a different tried and tested plugin, then go for an alternative. Finding an alternative plugin for anything on WordPress will not be that hard. And when you do decide to use that plugin, leave a review of your own to let other people know about it.
Frequent updates
Always check how often a plugin is updated. The WordPress core software has frequent updates on a regular basis. So the plugins must be also frequently updated to be compatible with the latest version. Otherwise, it can lead to a security issue for your website.
This is one of the disadvantages of free plugins. The providers of the free plugins are not obliged to provide you with regular updates. So, they are not necessarily updated on a regular basis. But you can check whether the plugin is up-to-date from the plugin page in the directory.
On the other hand, most premium plugins are very frequently updated. They will advertise that on their website and you can see the details given in their changelog.
Support
When you do for a plugin it is really important to check the quality of the support that they provide. More often than not, when you install a new plugin you will run into issues like the functionalities not working as they should, compatibility issues, conflict with other plugins or themes installed on your website, etc. In situations like these, you will need to get support for the plugin.
In the WordPress plugin directory, for a particular plugin, you can check the support forum for the issues that have been reported and how often they are resolved.
The source
Plugins from unreliable sources can get your site in some serious trouble. These plugins may contain malicious code that can slow down your website or compromise the security of your website.
When you are getting a free plugin it is always recommended to get one from the official WordPress plugin directory. The plugins in the plugin directory go through a rigorous review process and have to meet WordPress coding standards. So you can be sure that they follow good coding practices and will not hurt your website.
But free themes can only provide so much. So when going for premium themes always go for trustworthy marketplaces or websites.
How to Install a WordPress Plugin
Now, let’s understand how to install a plugin in WordPress. There are three methods by which you can upload a plugin to your WordPress site.
- Install a plugin from the WordPress theme directory
- Upload the zip file of the plugin
- Manually install a plugin using FTP
Let’s go through each of the methods step-by-step.
Method 1: Install a Plugin from the WordPress Theme Directory
This is the easiest way to install a plugin in which don’t even have to leave the browser window. You can install plugins in the WordPress directory from your dashboard. But this way, you can only install free plugins from WordPress.org.
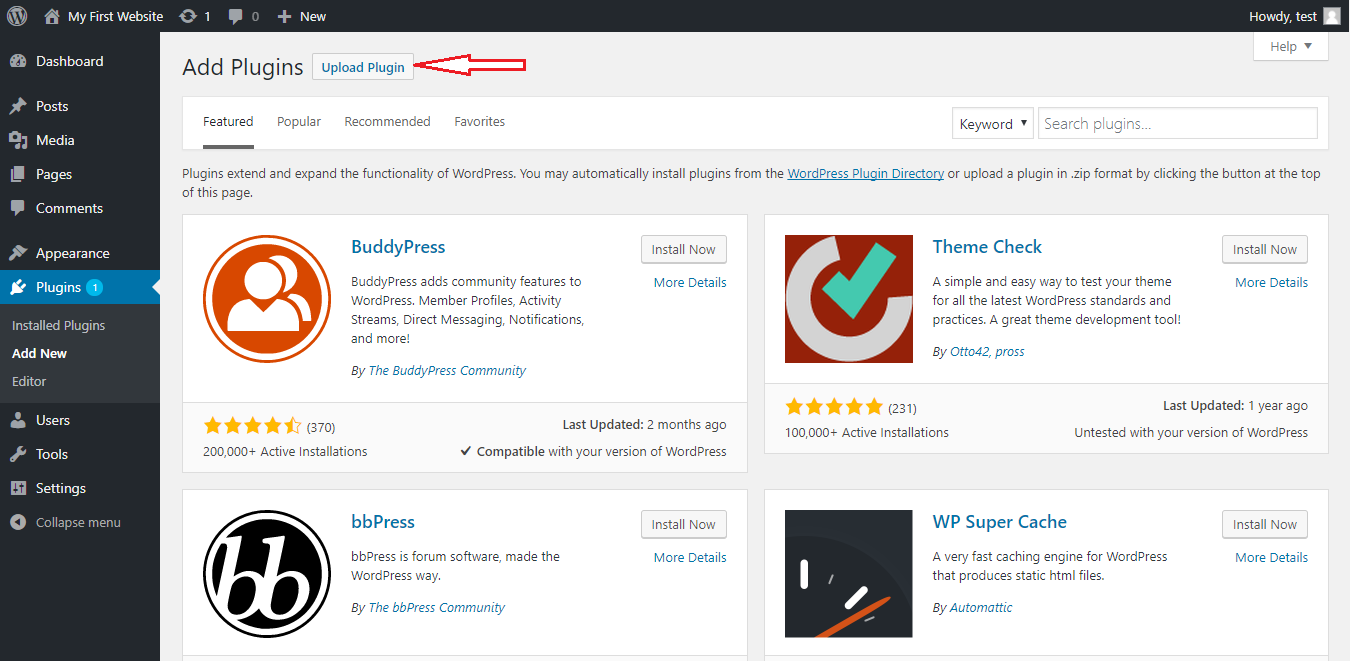
To add a plugin from your WordPress dashboard, go to the Plugins > Add New from the left sidebar. This will take you to the Add Plugins page. From this page, you can see a lot of plugins listed that are available in WordPress.org. The directory lists plugins as featured, popular, recommended, favorites.
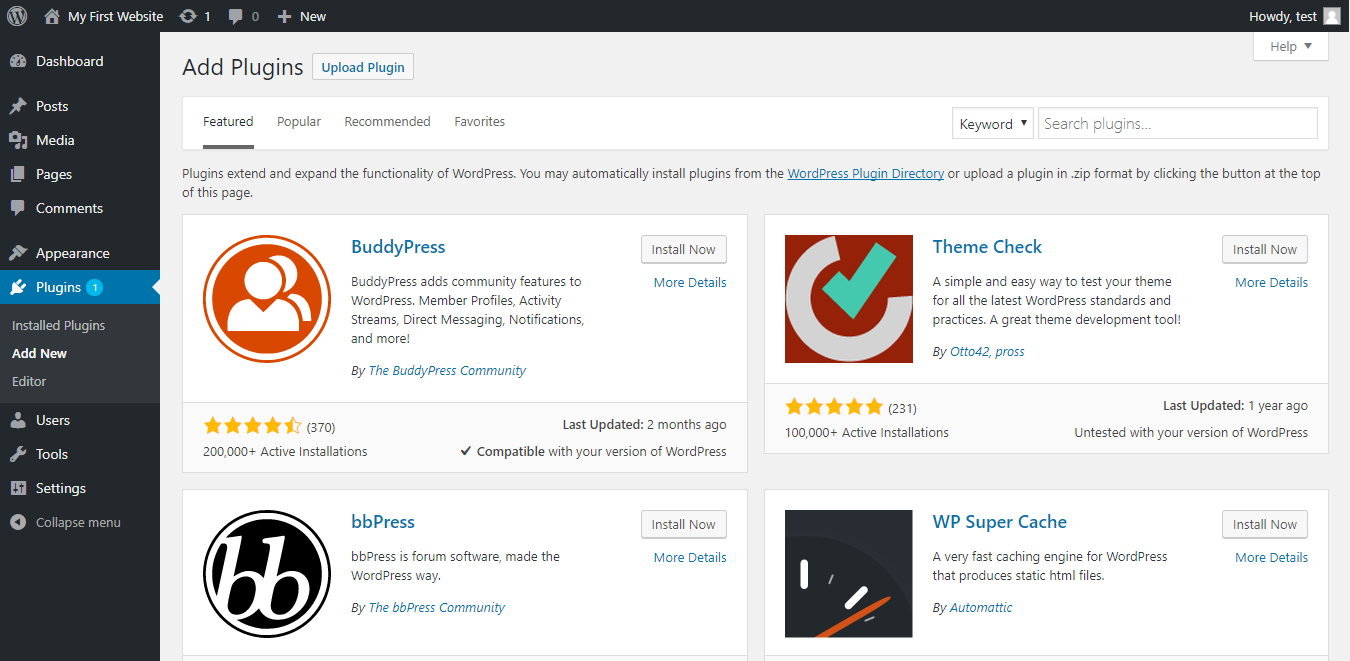
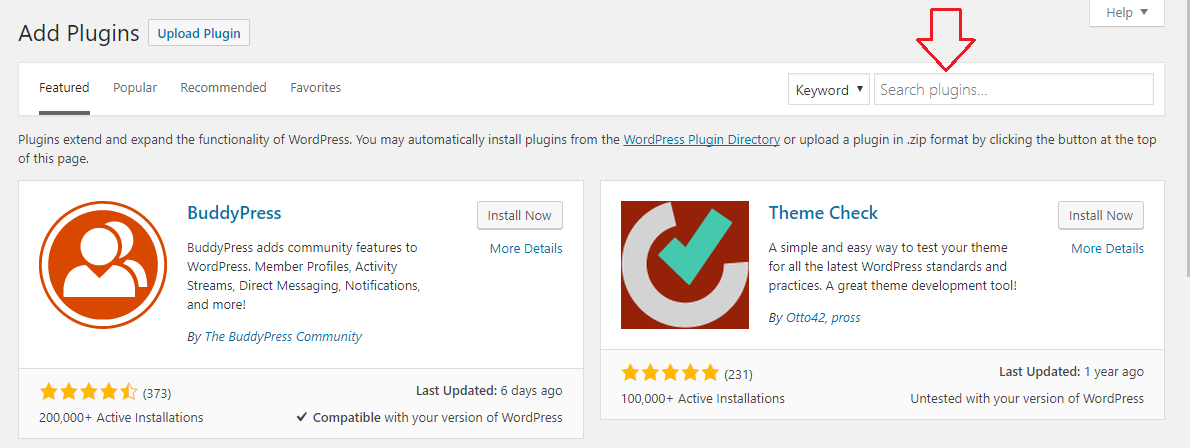
You can browse through the plugin directory to find your required plugin, or you can go the easy way and search for the plugin by its name or the functionality that you are looking for. Select from the drop-down to search by keyword, author, or tag.
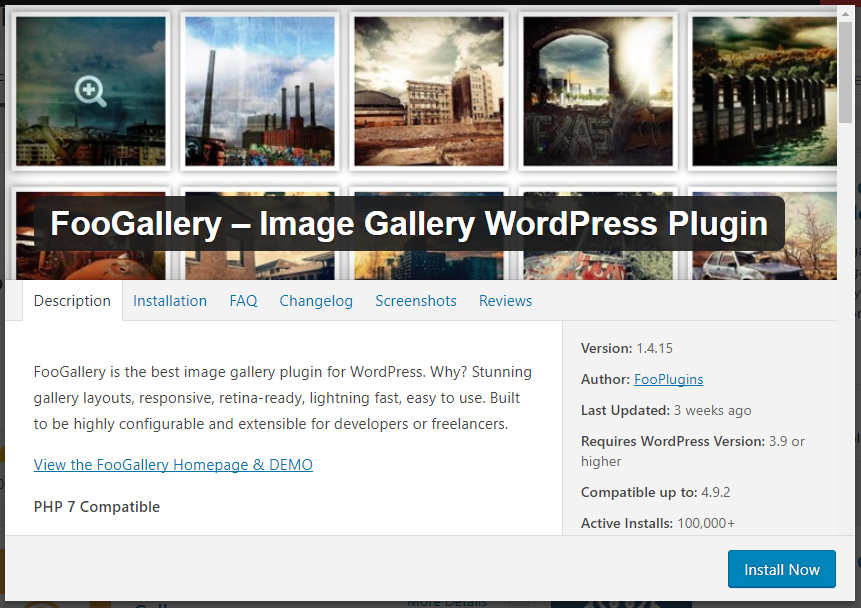
When you type in the functionality that you are looking for and search, you will get a list of plugins that you can choose and install. For example, if you type image gallery in the search bar you will get a list of plugins like this.
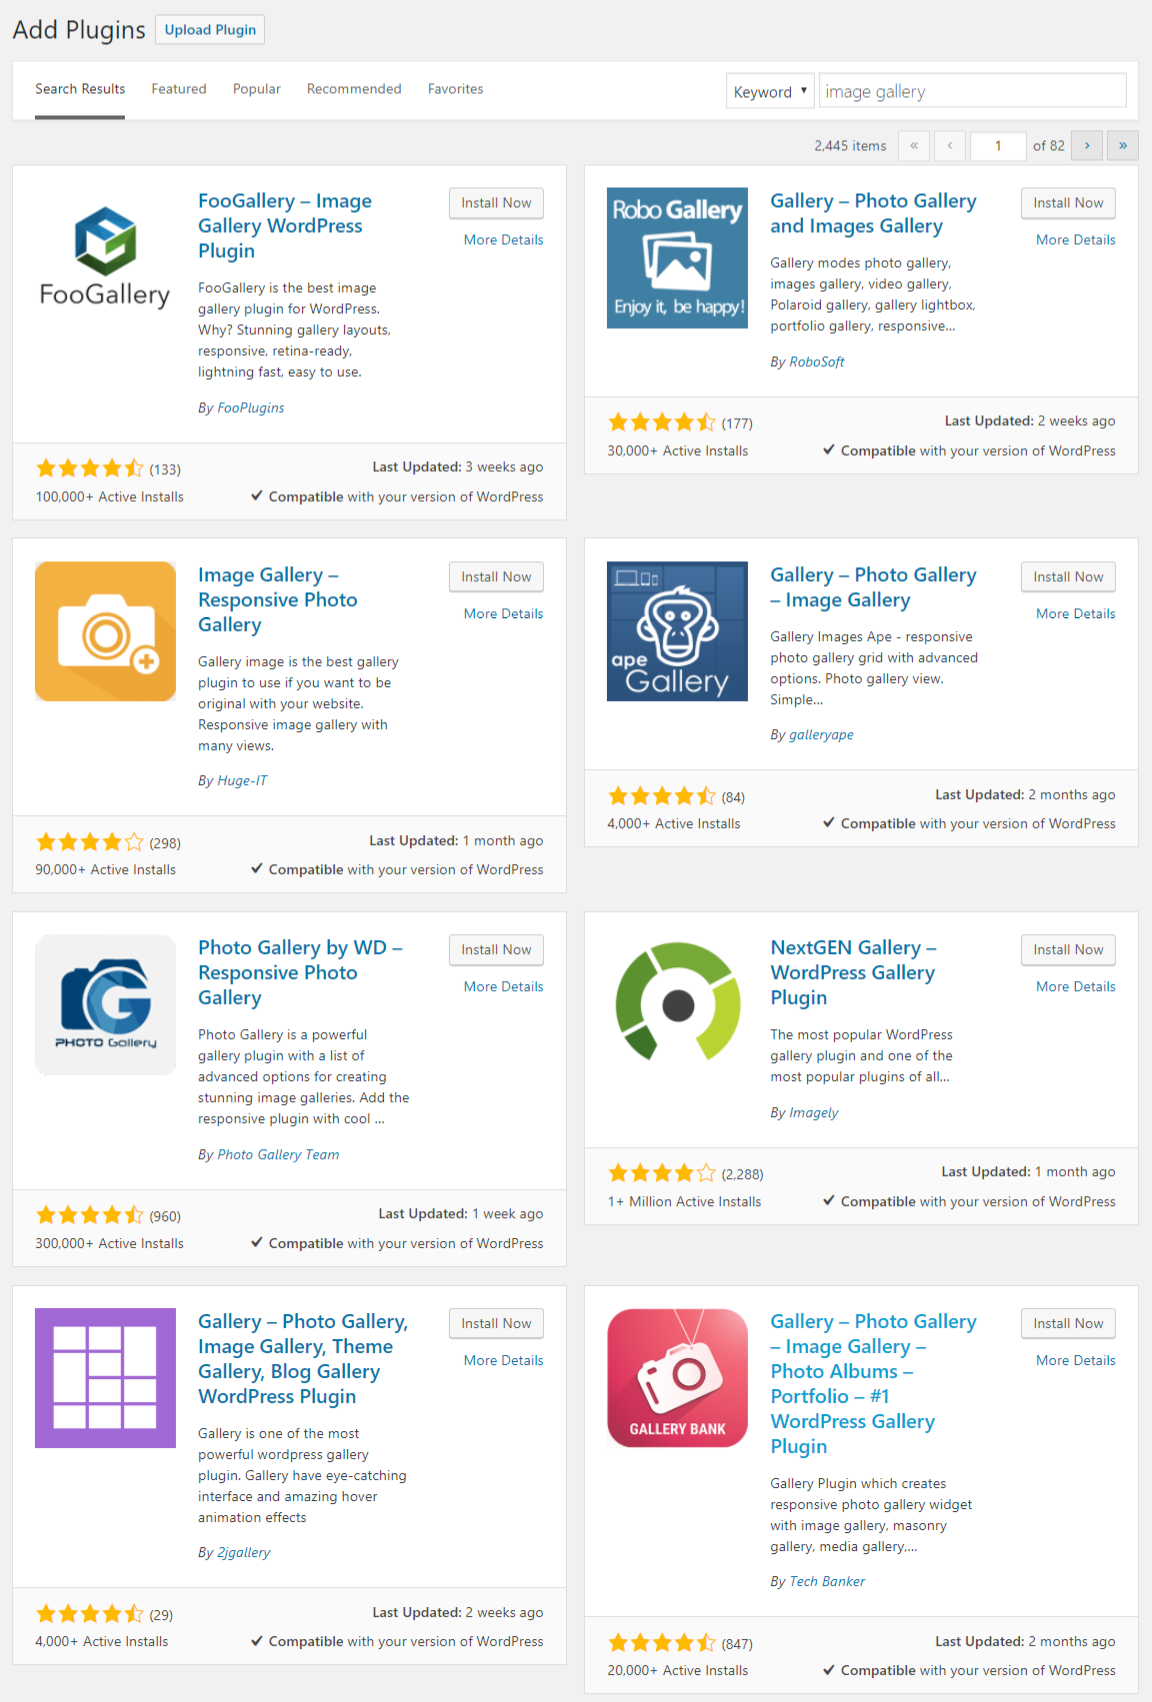
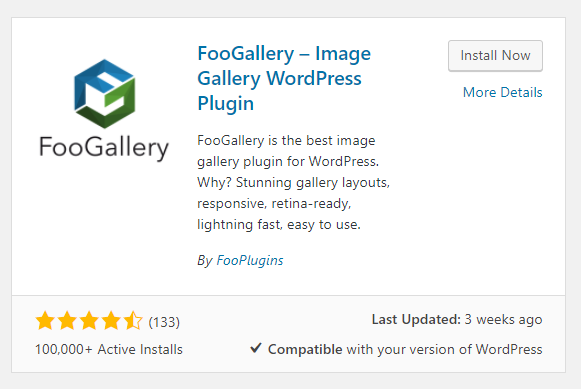
From this list, you can see the details like the number of active installs for the plugin, average star ratings for the plugin, last updated, whether the plugin is compatible with the version of WordPress that you are using, etc. Also, if you want more information than that click on More Details.
A popup window with the plugin documentation which includes the plugin description, installation details, FAQs for the plugin, the plugin changelog, screenshots, and reviews. This will help you get to know more about the plugin and compare with other plugins before installing it.
But, if you have a specific plugin in mind, you can type the name of the plugin and you can find that plugin from the search results.
After you have found your plugin, simply click Install Now to install the plugin to your WordPress site.
After installation, you will get a screen like this which indicates that the plugin has been installed on your website.
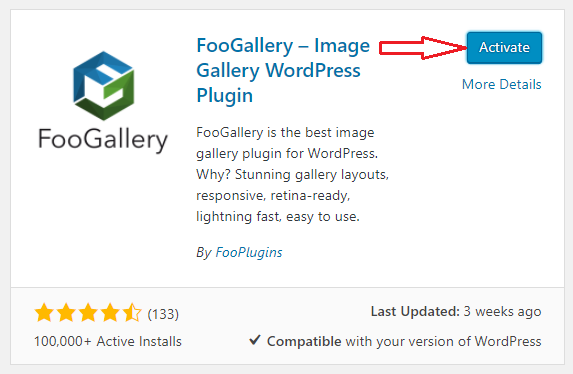
The plugin has only been installed on your site, but for it to provide its intended functionality, you will have to activate the plugin. So go ahead and click Activate to activate the plugin.
Now, you will need to configure the plugin settings according to your needs. You can go and look at the documentation of each plugin to help you with configuring the settings. And then you are good to go with the plugin.
Method 2: Upload the Zip File of a Plugin
WordPress gives you another method to install plugins from other sources other than the WordPress directory. This method is particularly useful when you have found a plugin that works for you from a different source or you have a premium plugin since they are not listed in the WordPress directory.
For installing a plugin using this method, first, you will have to download the zip file of the plugin to your computer from the website or the marketplace of the plugin. Next, from the admin side of your WordPress site and go to Plugins > Add new.
From the Add Plugins page, click on Upload Plugin.
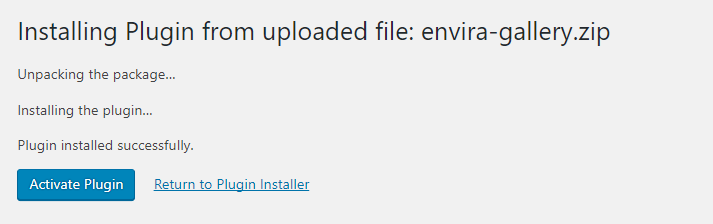
Then upload the plugin zip file from choosing the file you downloaded earlier on your computer And then after the plugin file is selected, click install.

This will upload the plugin from your computer and then will install the plugin to your site. You will get a message after the plugin has been installed successfully. To get the plugin functionality on your website, you will have to activate the plugin. So after installation, click on Activate Plugin.
Now, you will need to configure and change the settings of the plugin to best suit the needs of your website. Refer to the documentation to help you with the settings of that specific plugin.
Method 3: Manually Install a Plugin Using FTP
Usually, the easy method to install a plugin is through the WordPress dashboard. However, sometime you might not be able to install a plugin this way. In such situations, you can install a plugin manually using an FTP client.
This method can be used when you can not install a plugin directly from your WordPress dashboard. You will need to have an FTP Client for uploading a plugin. In this article, I have used a free FTP client software called FileZilla.
To manually install a plugin using FTP, first, you will have to download the plugin that you want to install on to your computer. The plugin will be in a compressed zip format. Unzip and extract the contents of the file. This will create a folder with the same name. This is the file you will be uploading via the FTP server.
Usually, for almost all FTP client software, the interface is similar. The left side of the window contains the files and folders on your computer, and the left side will show the files and folders on your web server once a connection has been established.
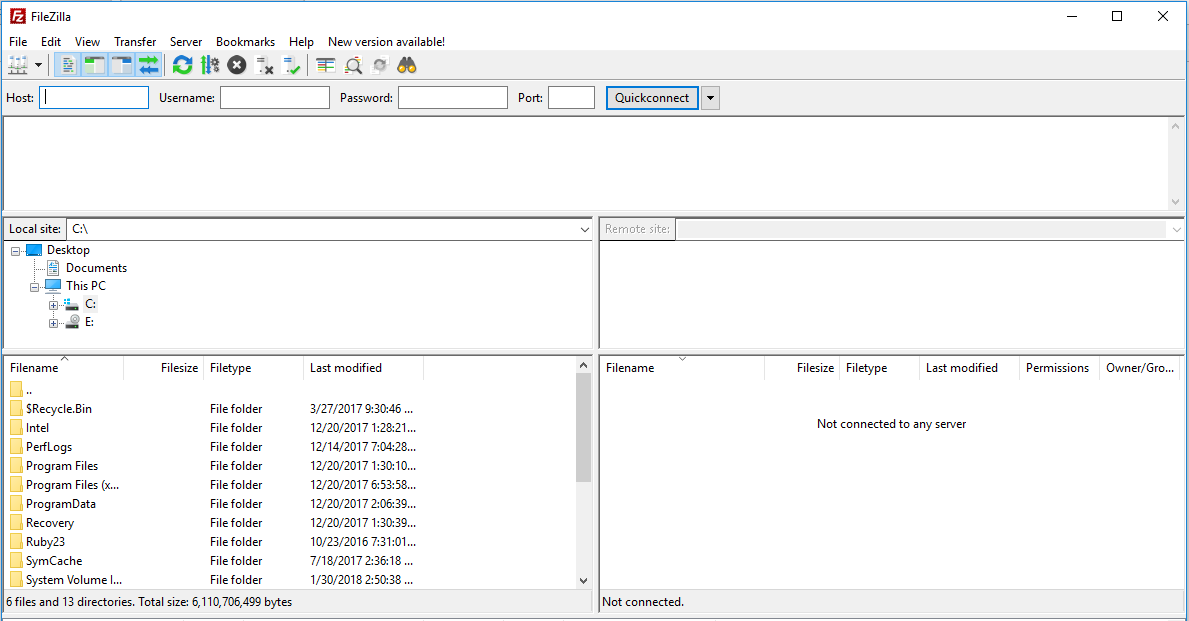
Now you need to connect to your host using the FTP client. Enter the login credentials provided by your web host to connect to the web server. Once the connection has been established, you can access the files of your WordPress website on the web server.
Now access the file /wp-content/plugins/ from the web server. Now locate the path of your extracted plugin file in the FTP client.
Next, from using your FTP server upload the extracted folder of the plugin to /wp-content/plugins/ of your WordPress website on your web server.
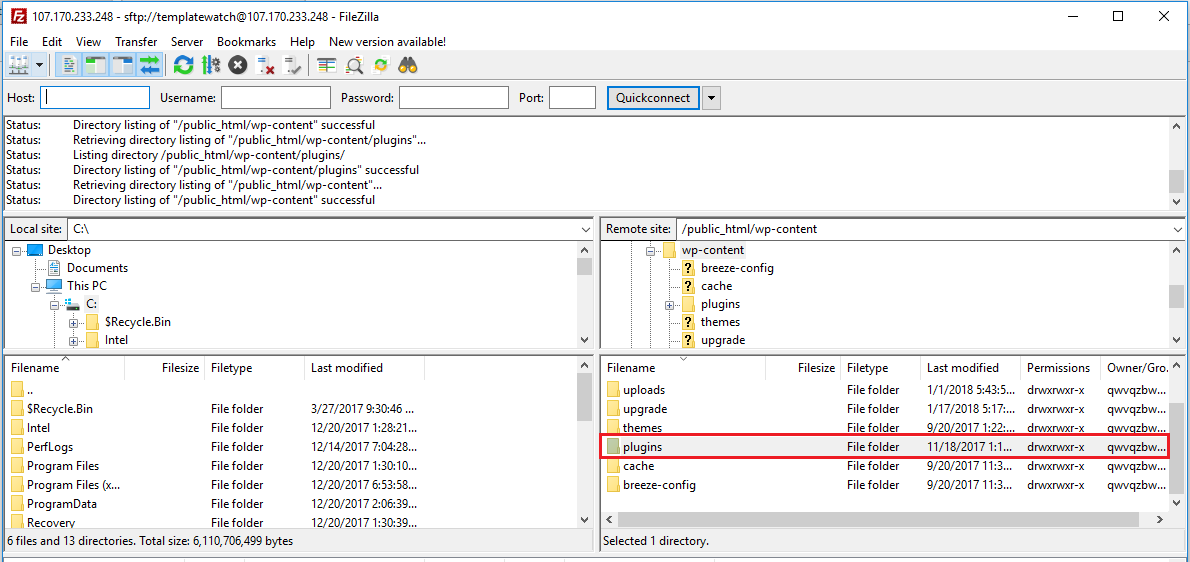
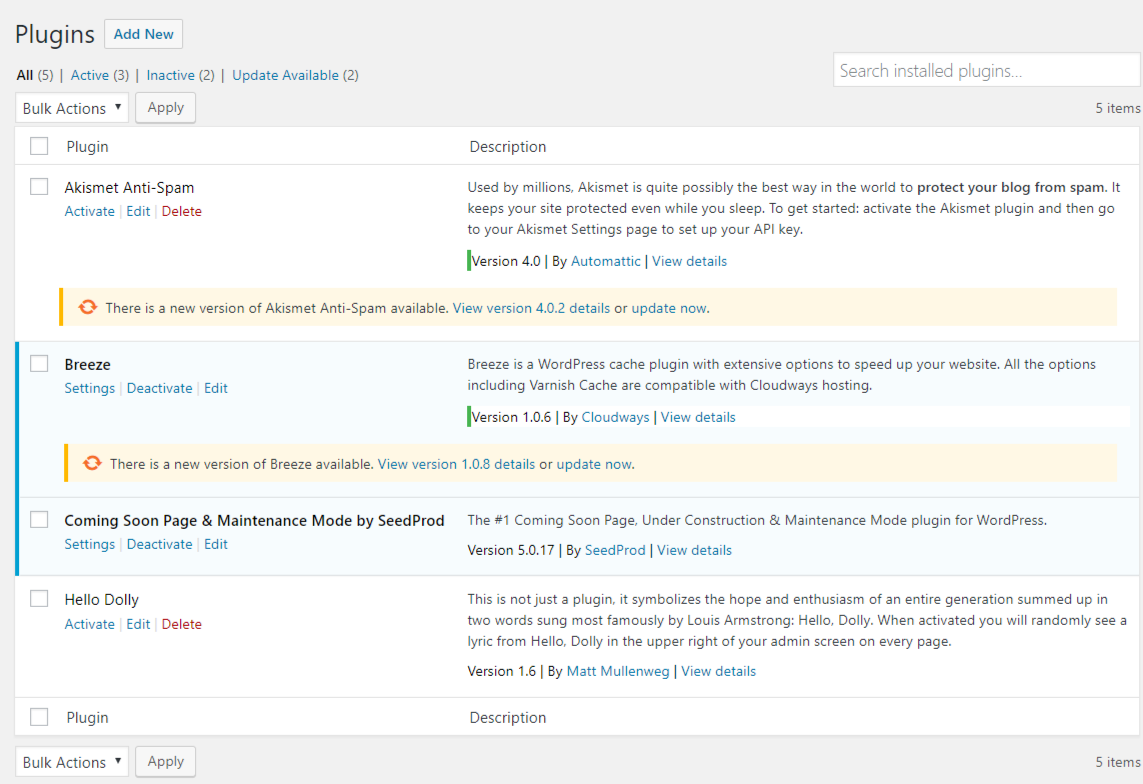
After uploading the plugin, go to your website admin side. Go to the plugins page where you will see the plugin listed on the installed plugins list.
All you need to do now is to activate the plugin and configure the settings of the plugin.
After the plugin has been installed, you can manage the plugin from the Plugin page. You can activate or delete a plugin, change the settings of an activated plugin or deactivate an activated plugin or edit a plugin.
And there you have it! Installing a plugin in WordPress is very easy. Every WordPress beginner and blogger should know how to install a plugin because if you are using WordPress, it is highly likely that you will need to install a plugin. Hope this article helped you to learn how to install a plugin in WordPress.

Comments
Rochell
What’s up friends, how is all, and what you would like to say concerning this article, in my
view its truly remarkable for me.
September 24, 2022